Week 3:
Books
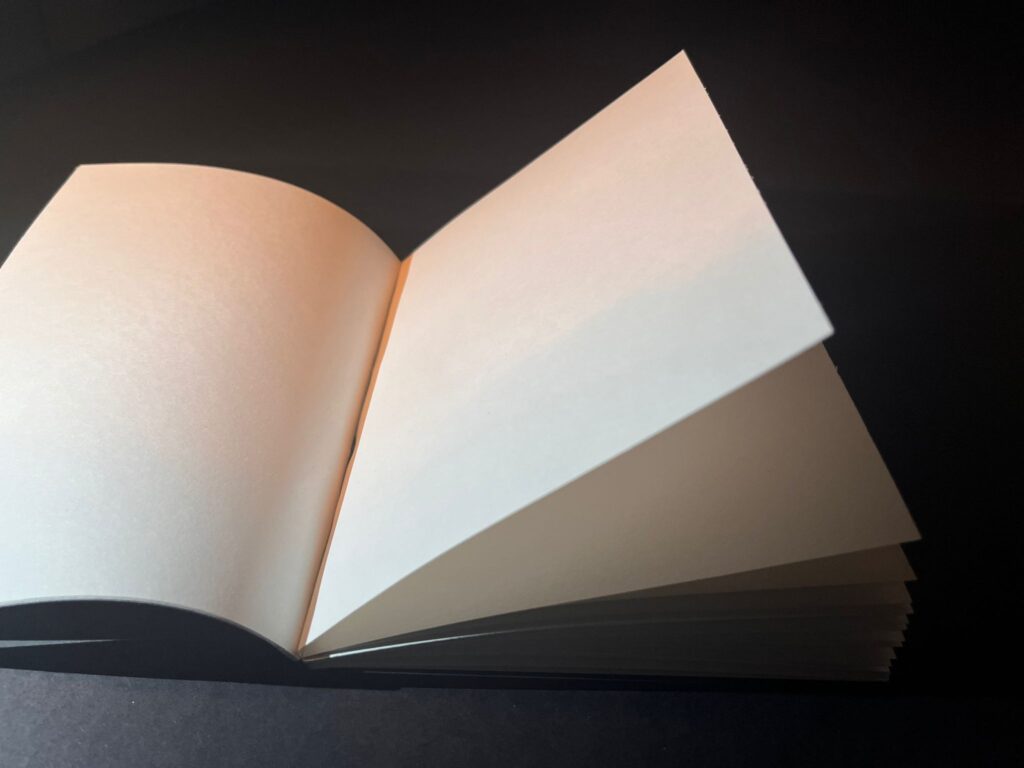
Task 1: Create a Saddle stitched Sketchbook

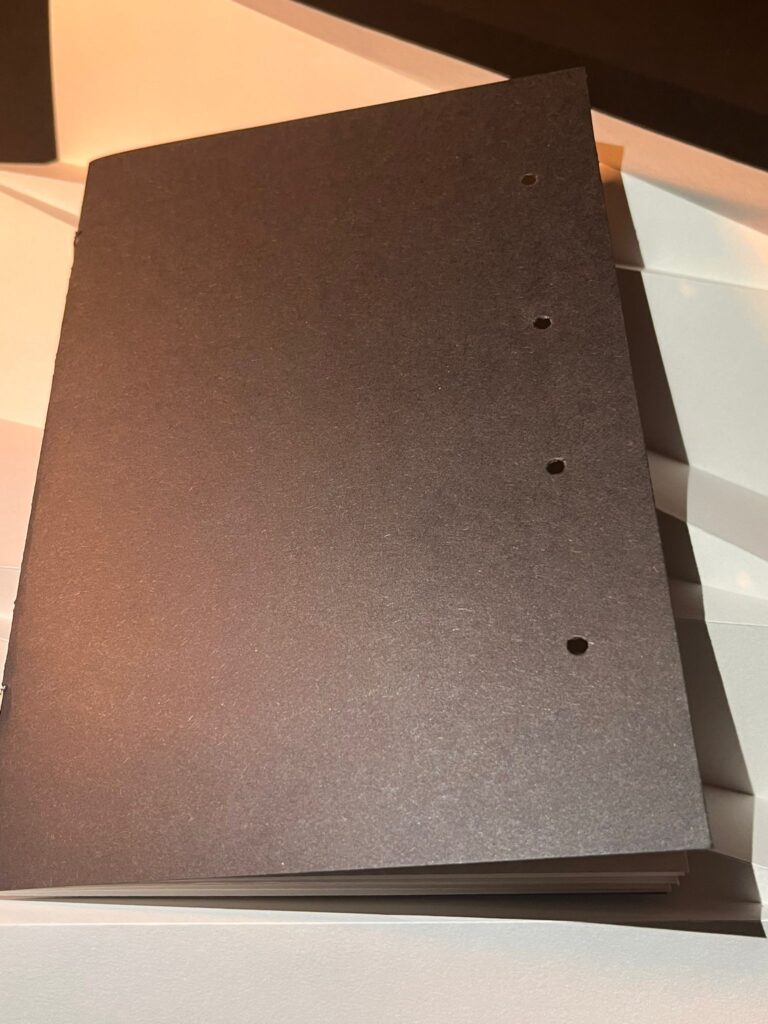
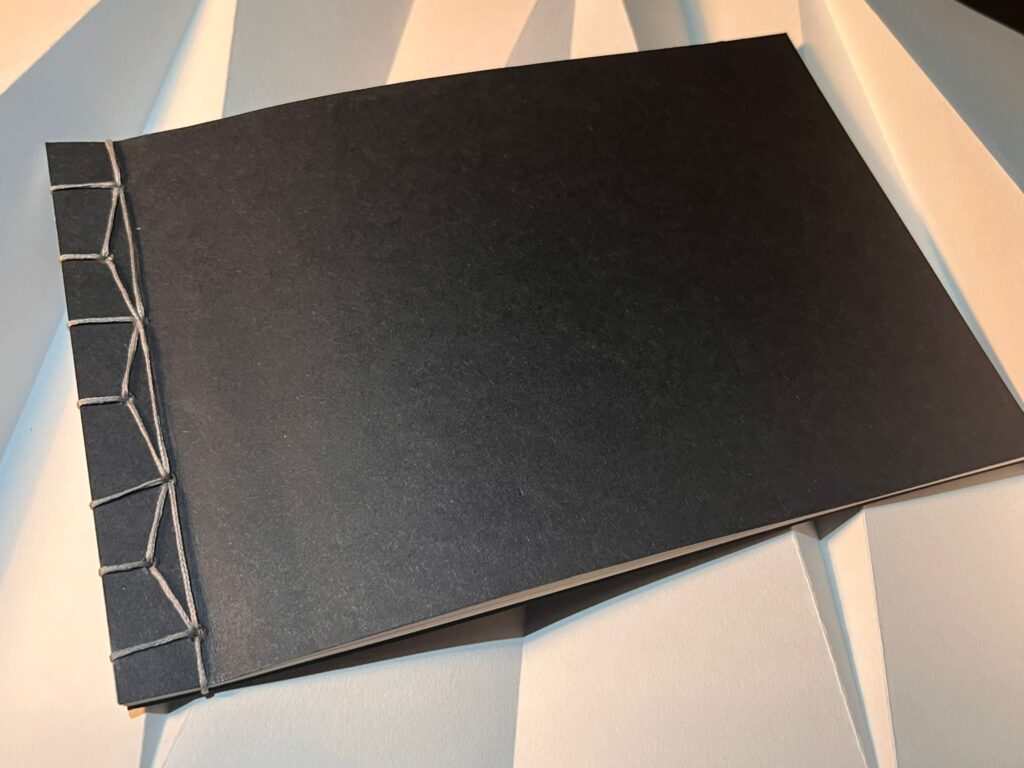
Task 2: Create a A5 landscape, stab-stitched book
Task 3: Create a Perfect bound book
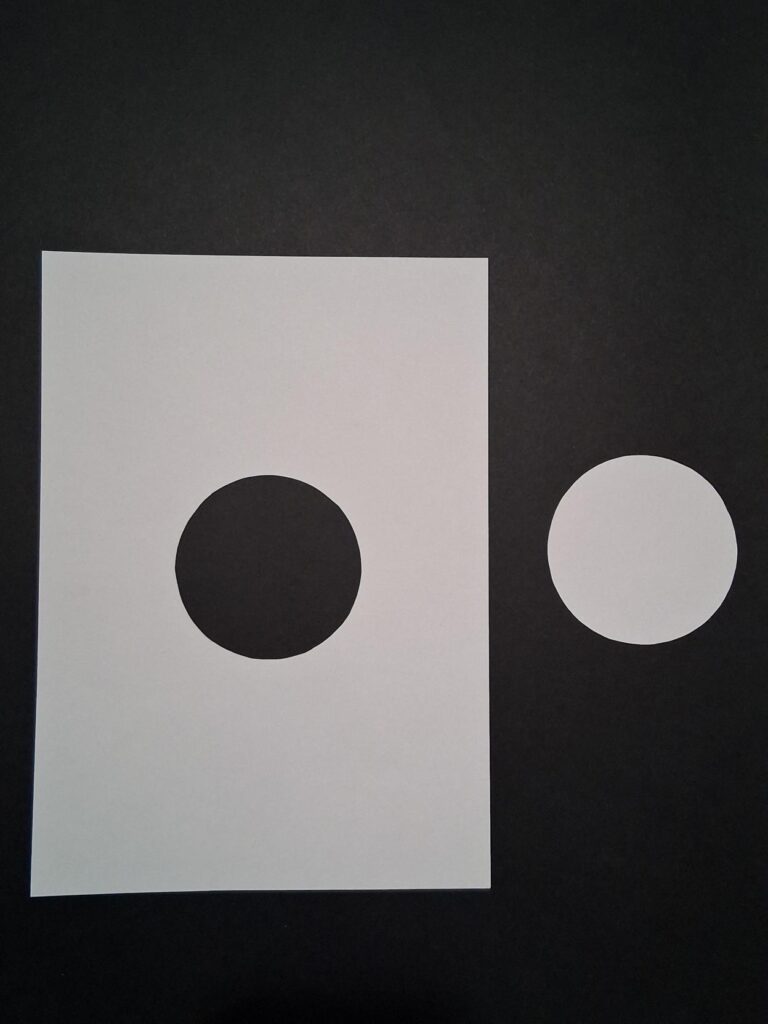
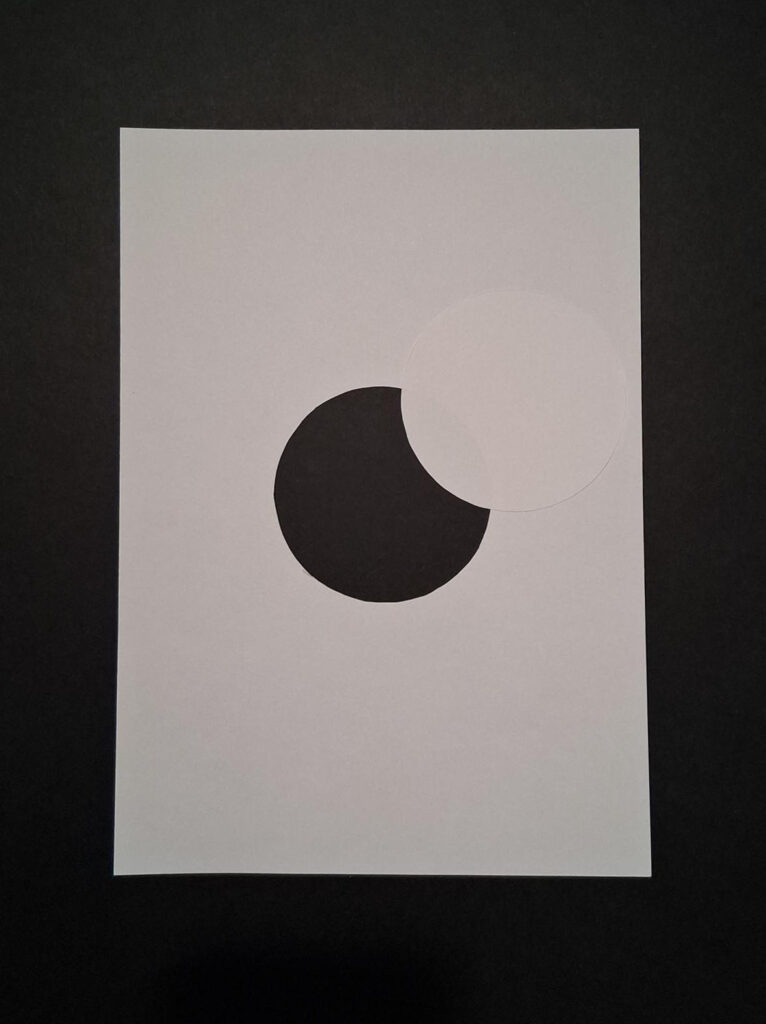
Task 4 (Presentation): Window mount a postcard behind an A4 sheet of mounting card
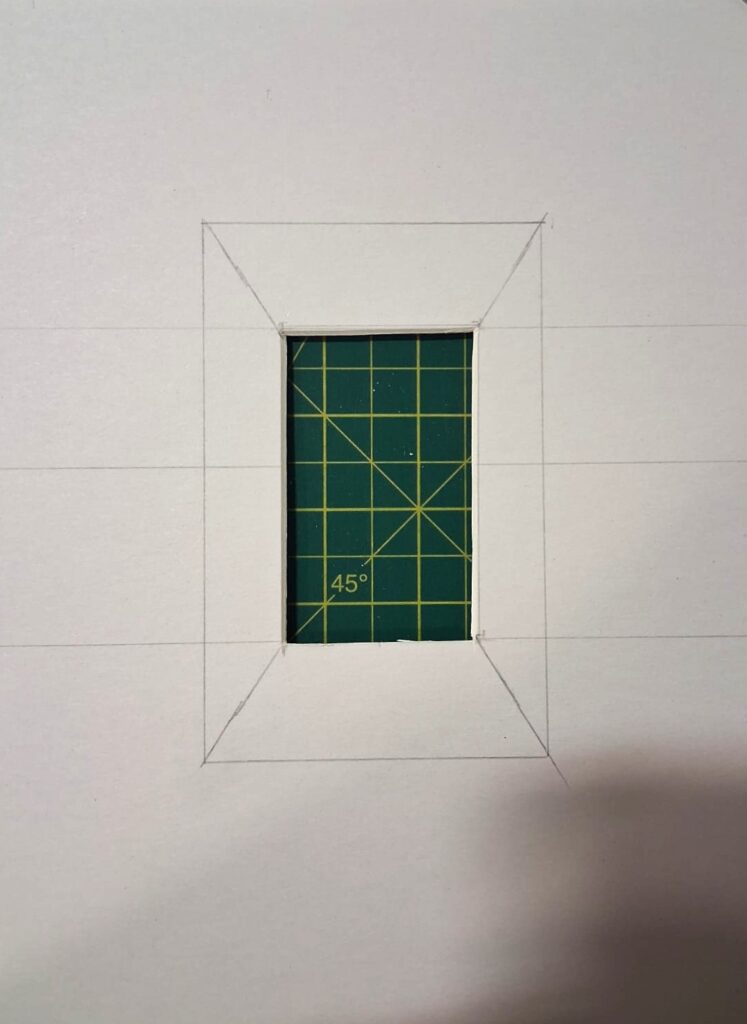
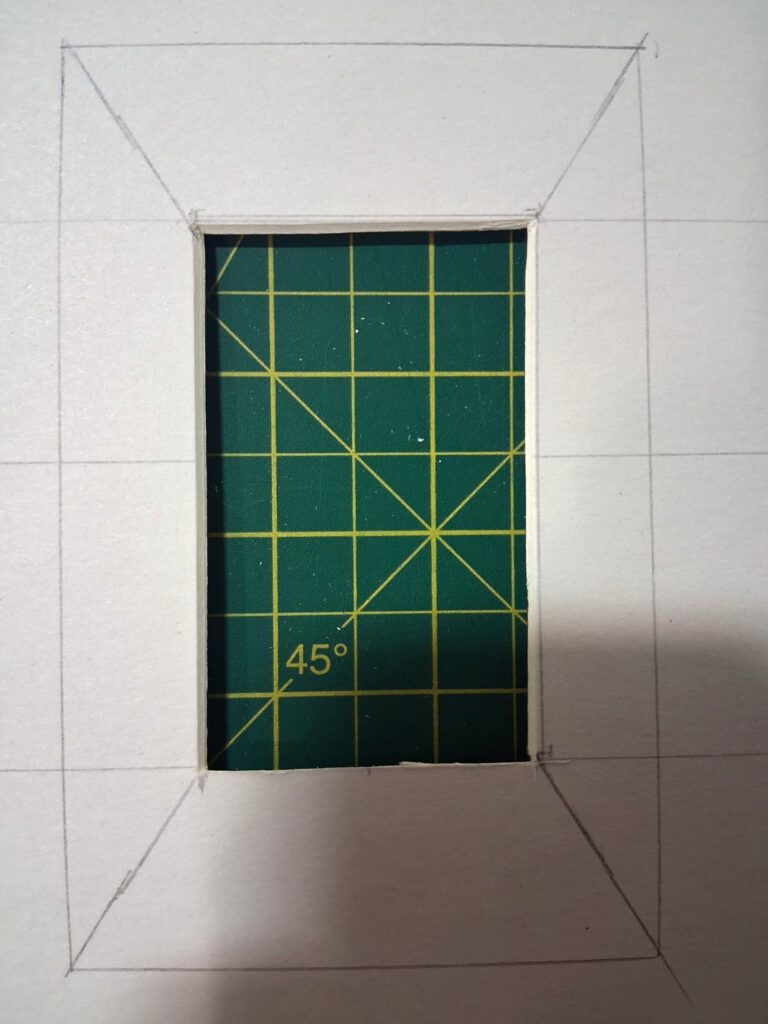
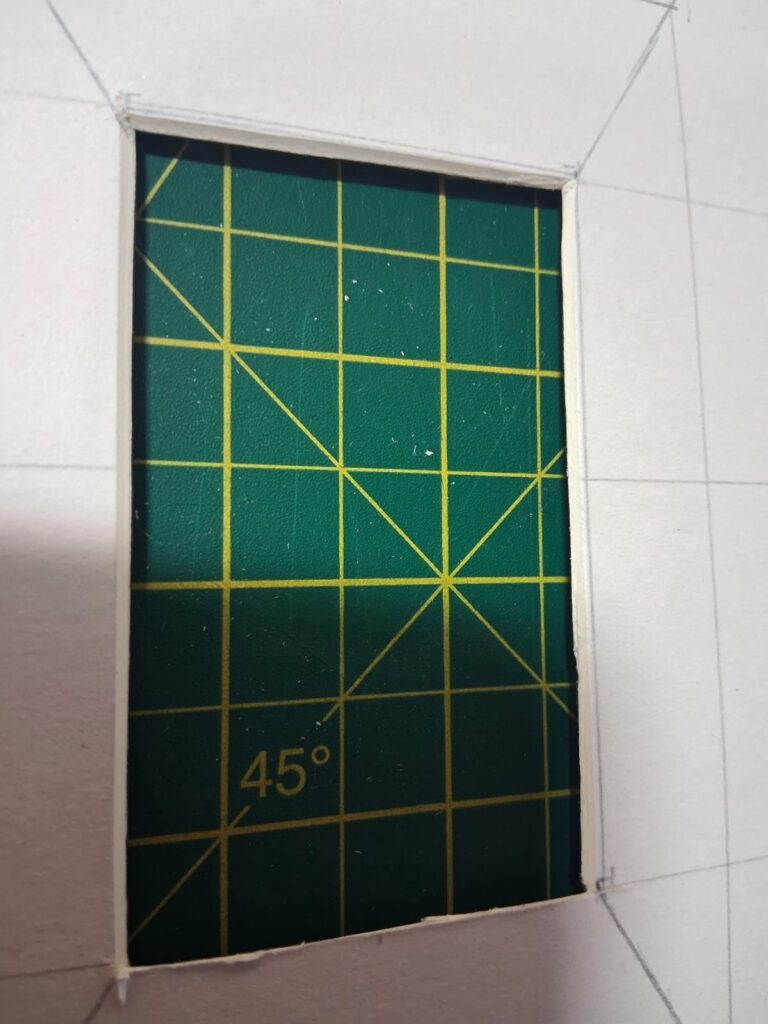
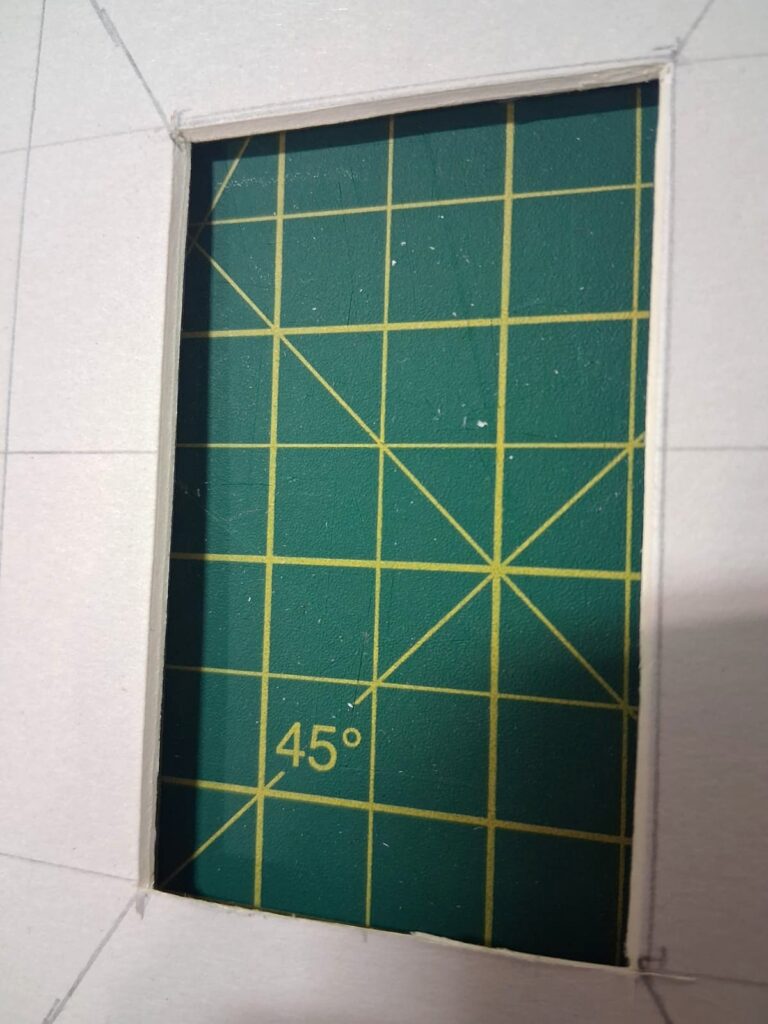
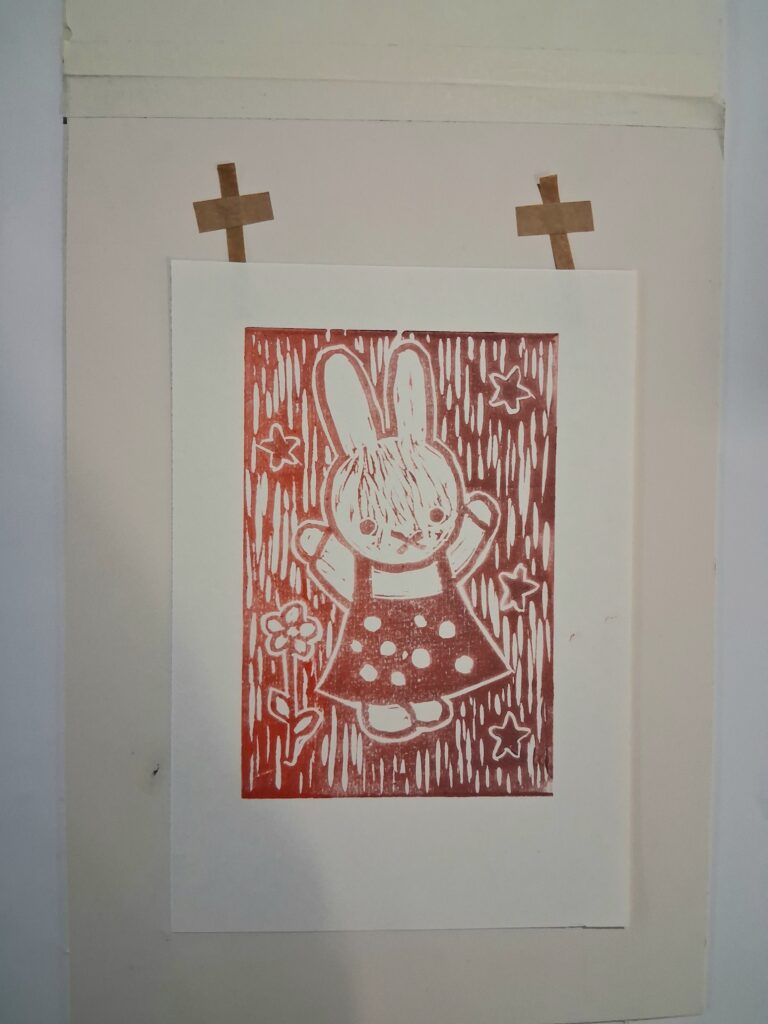
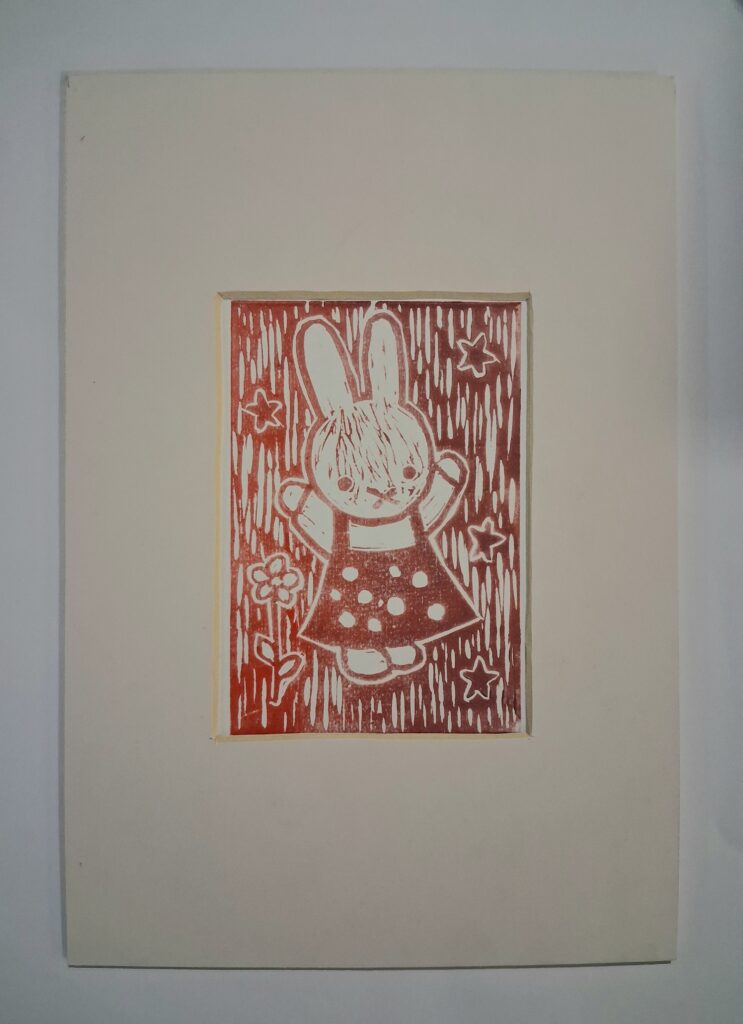
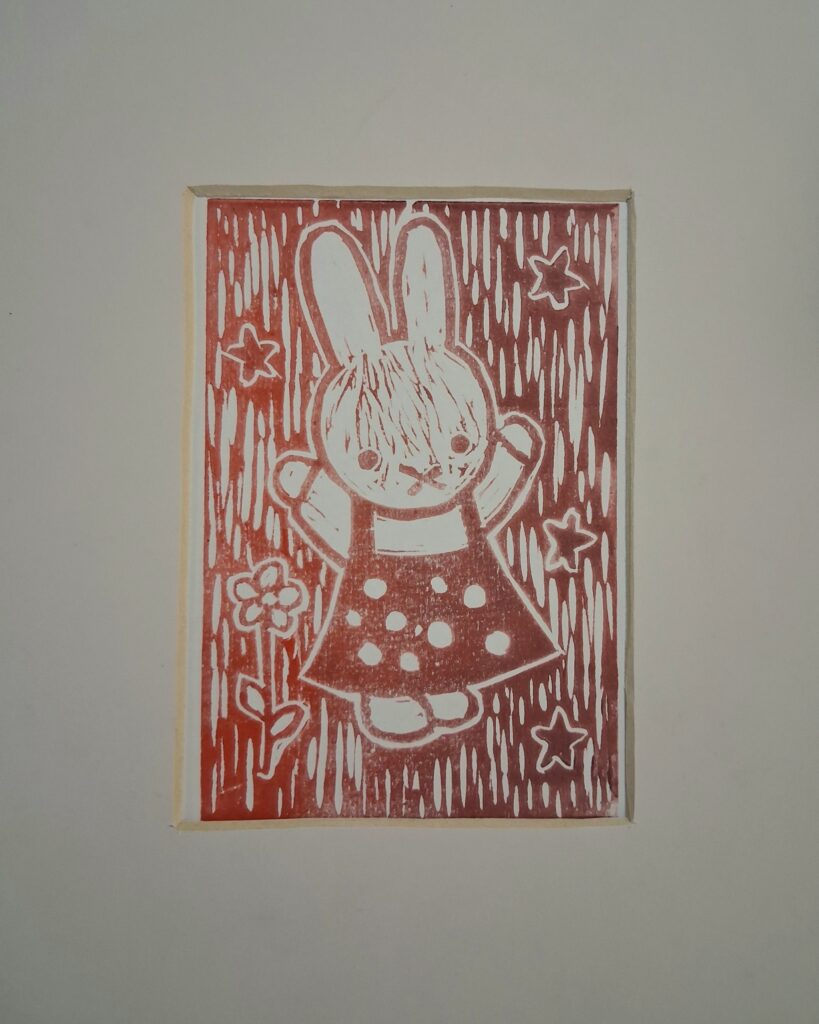
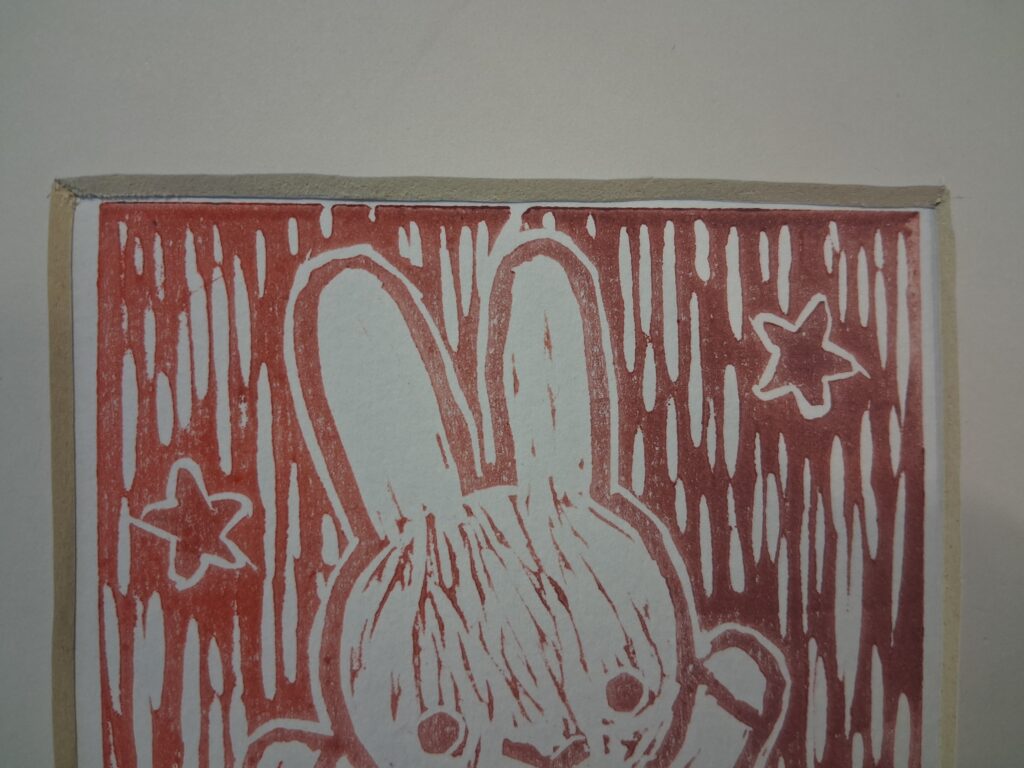
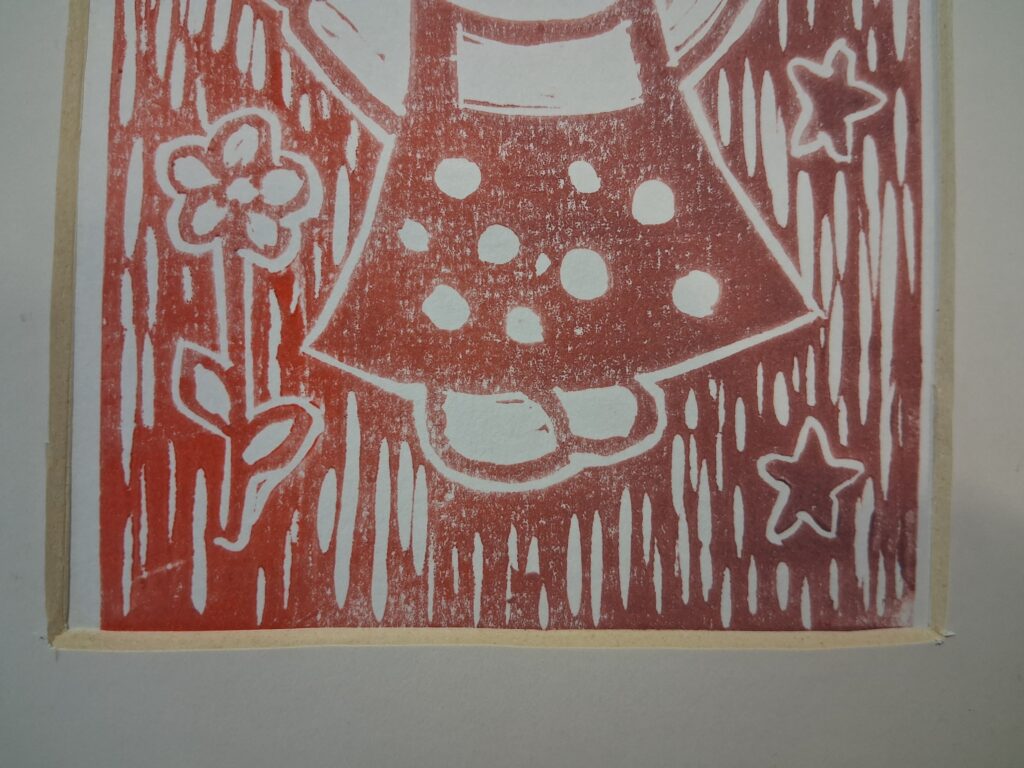
My reattempt for the window mounting doing a bigger hole to add my work into, then securing it inside with tape. It is thoroughly cut through although all the lines aren’t completely straight. I did find this one a bit hard to keep it all at the same angle so that it is a straight cut edge.
Presentation
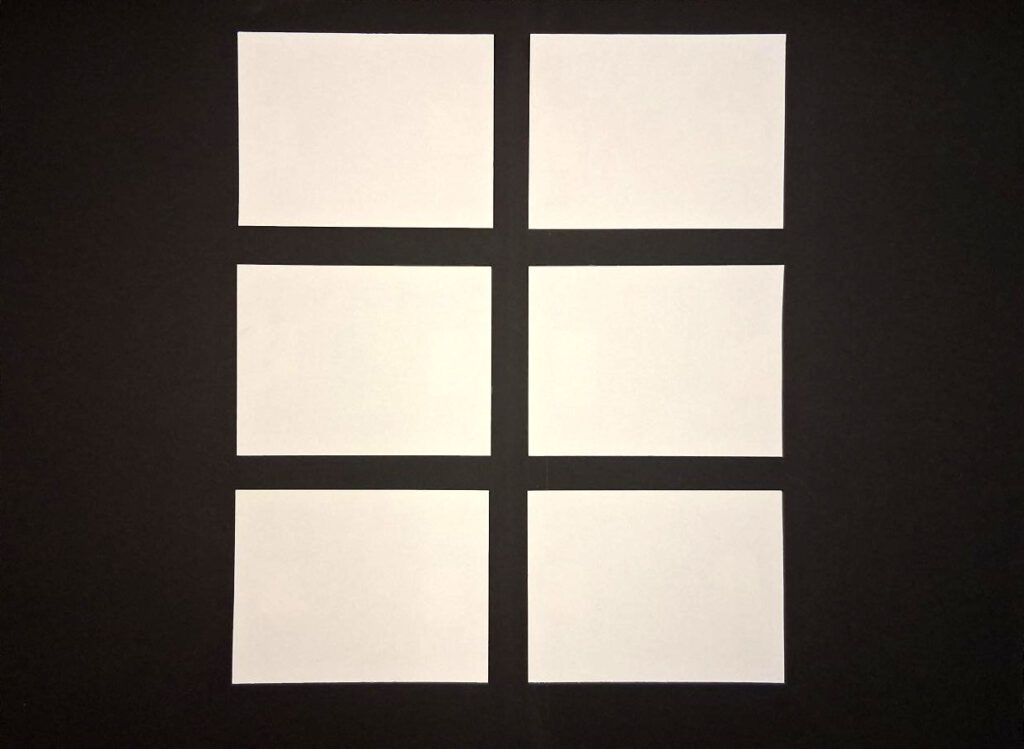
Task 5 : Surface mount 6 postcards onto an A2 sheet of card
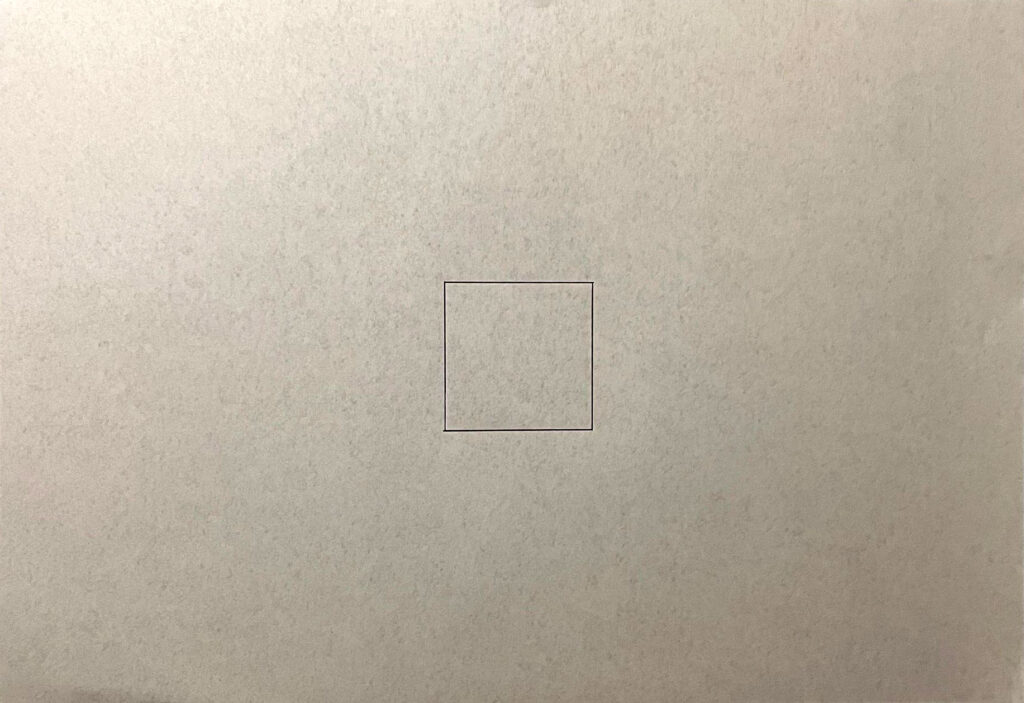
Task 6: Draw outline of a perfect 45mm square on layout paper
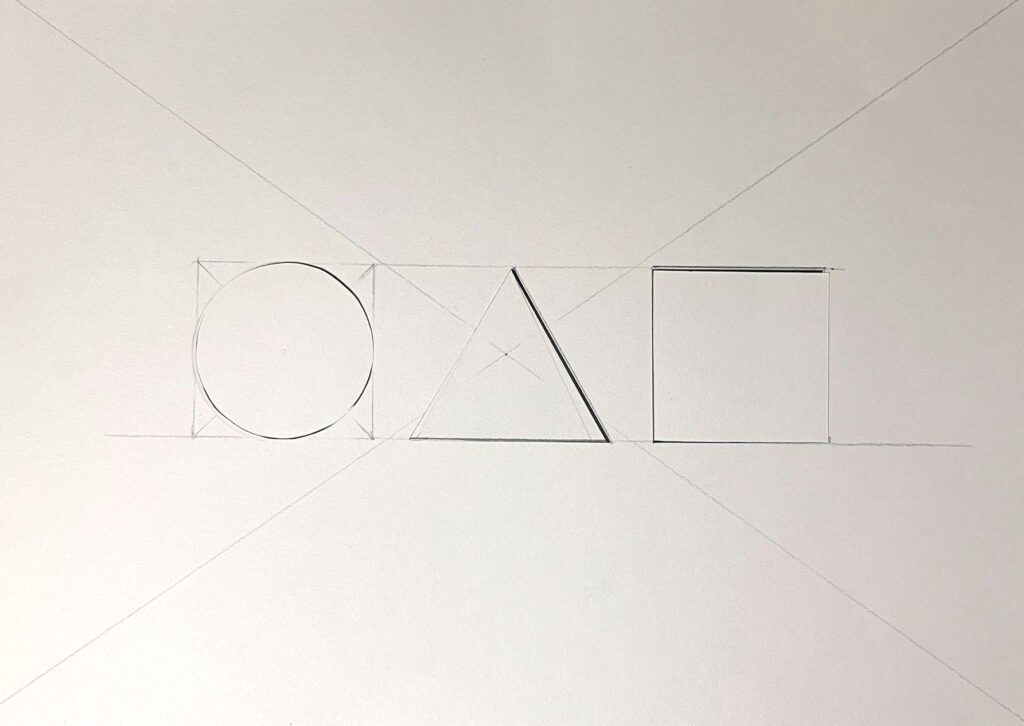
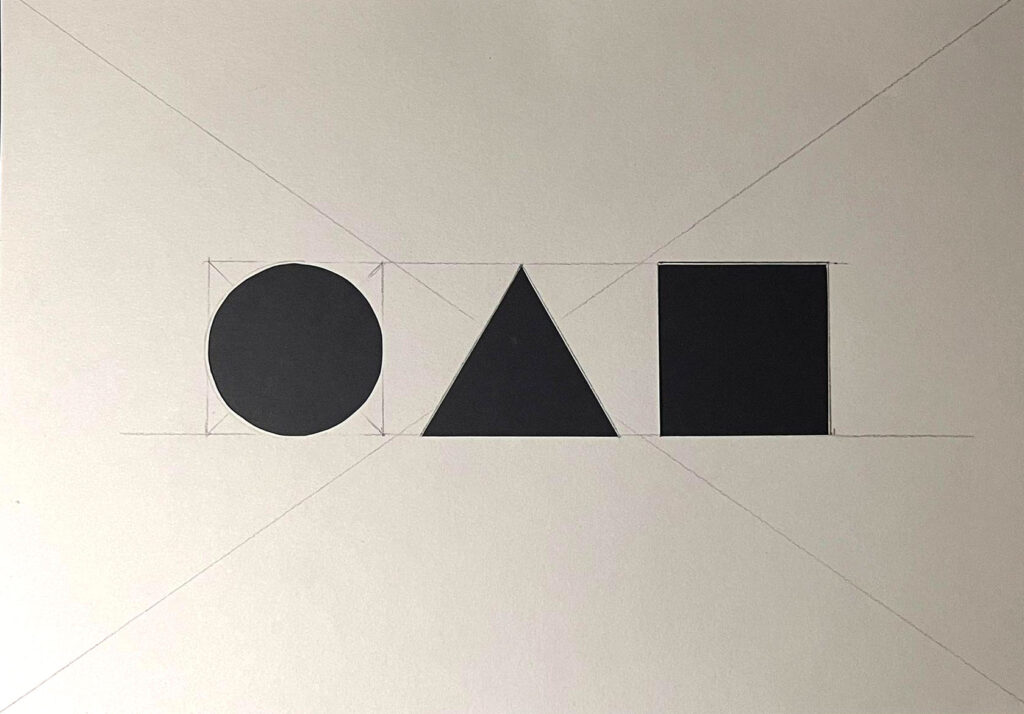
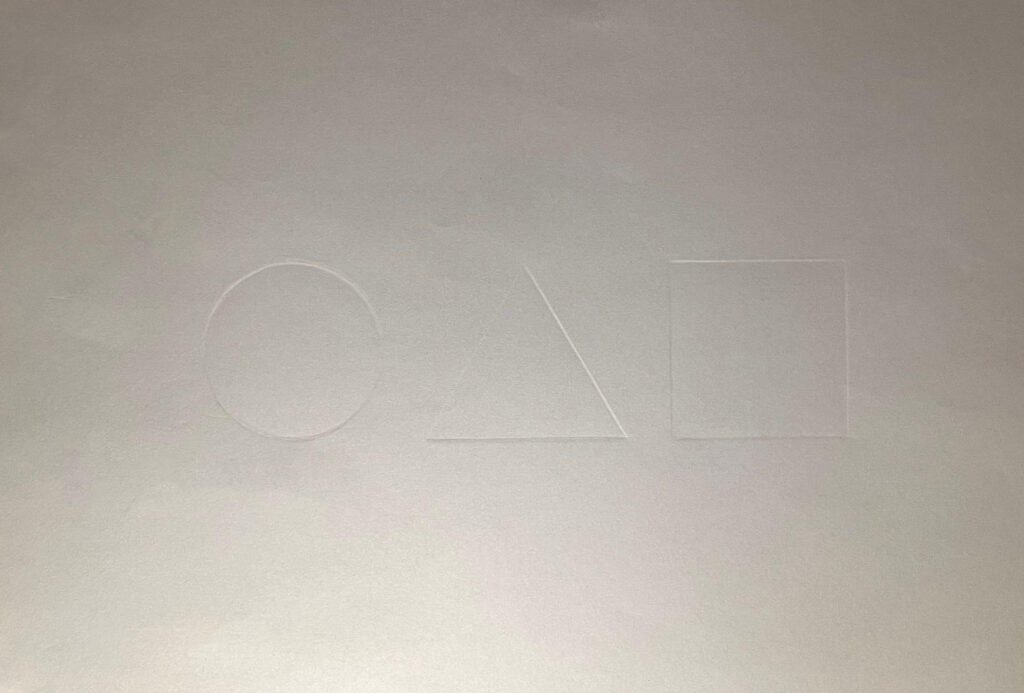
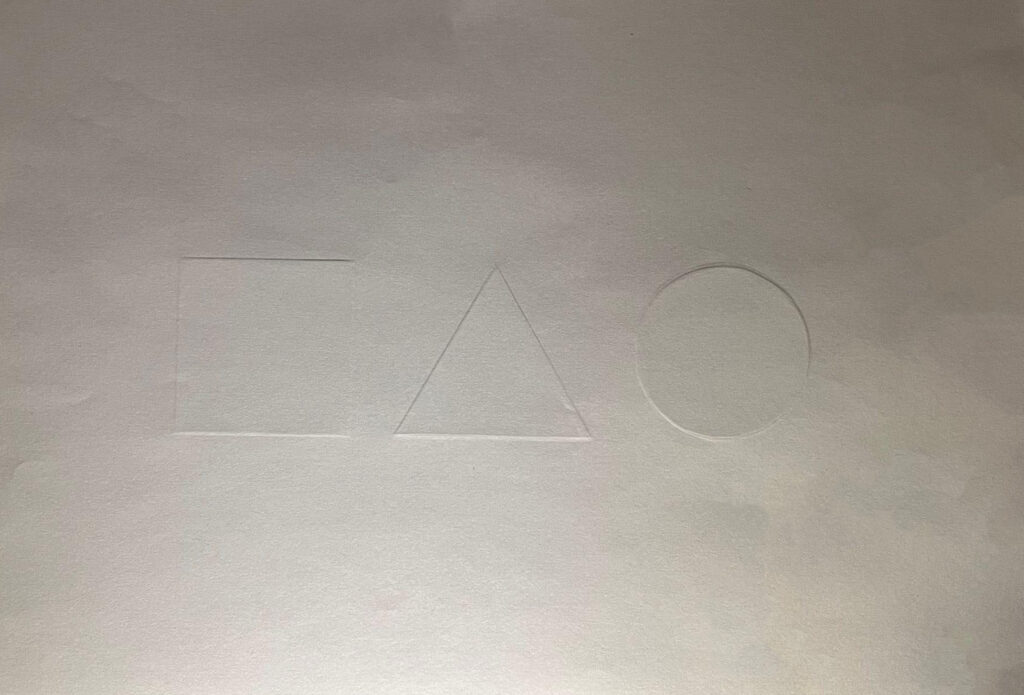
Task 7: Emboss a circle, square and equilateral triangle onto A4 cartridge paper (Should all be 50mm high)
Cutting
Task 8: Cut out a perfect circle with a 45mm radius, centred on A4

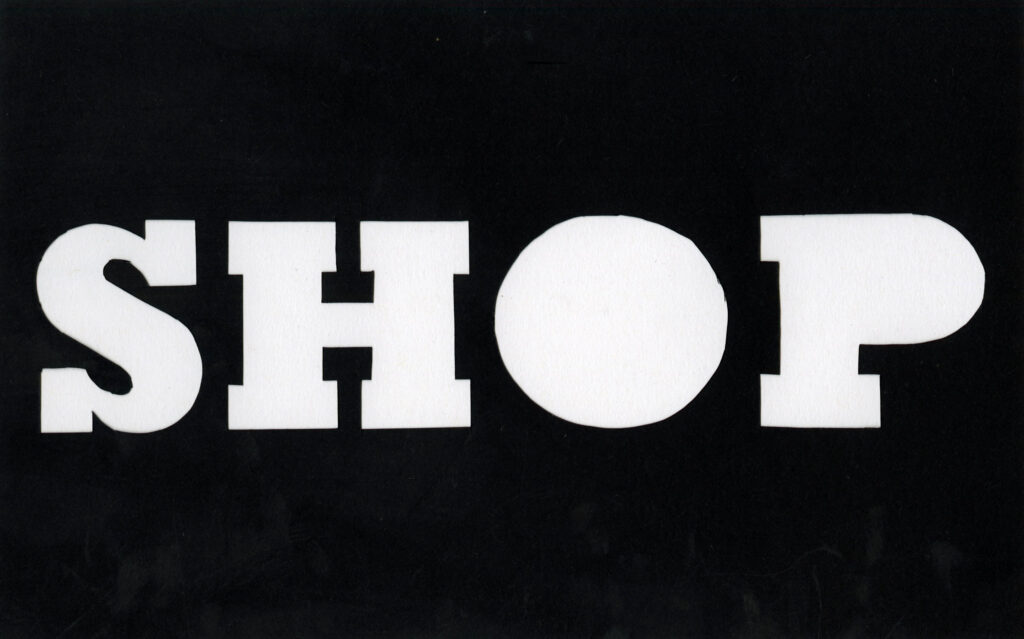
Task 9: Cut the word Shop out 60mm high on black card (font Rockwell extra bold) and mount onto an A3 sheet of white cartridge paper.


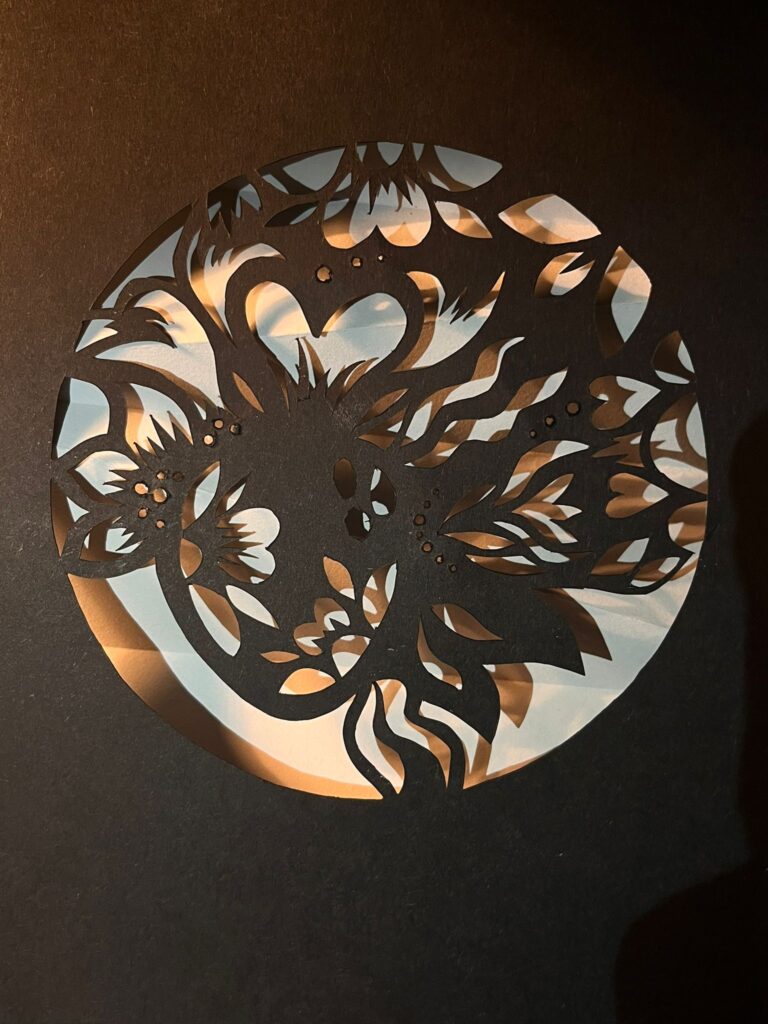
Task 10: Cut out your own intricate pattern using a scalpel knife
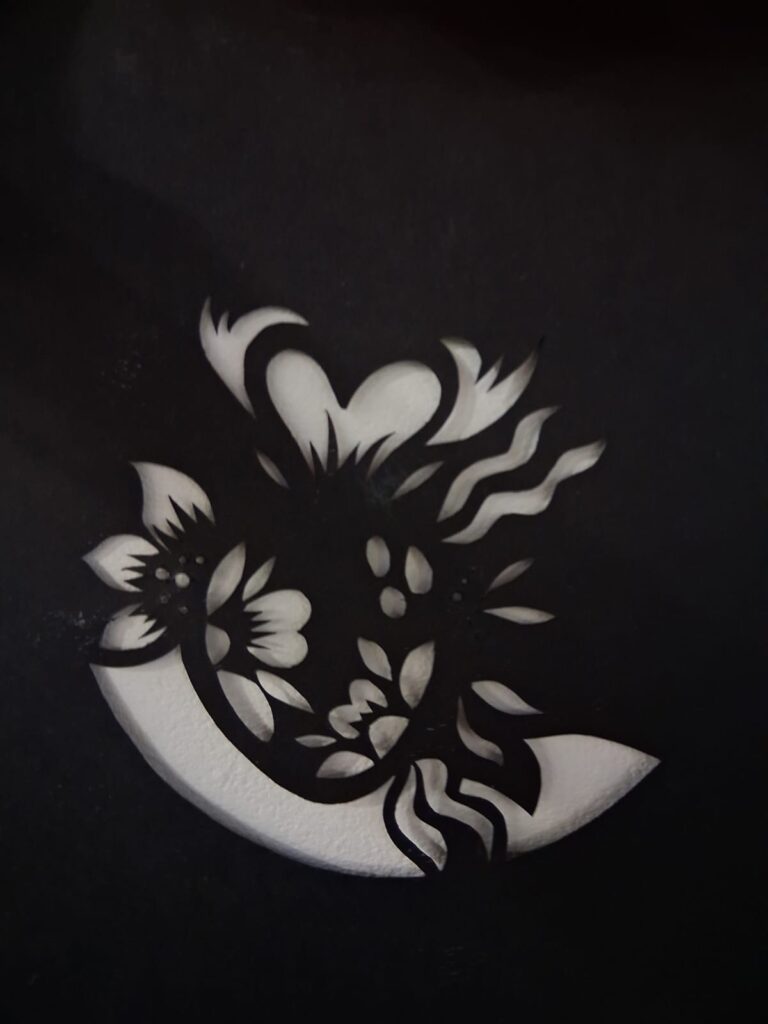
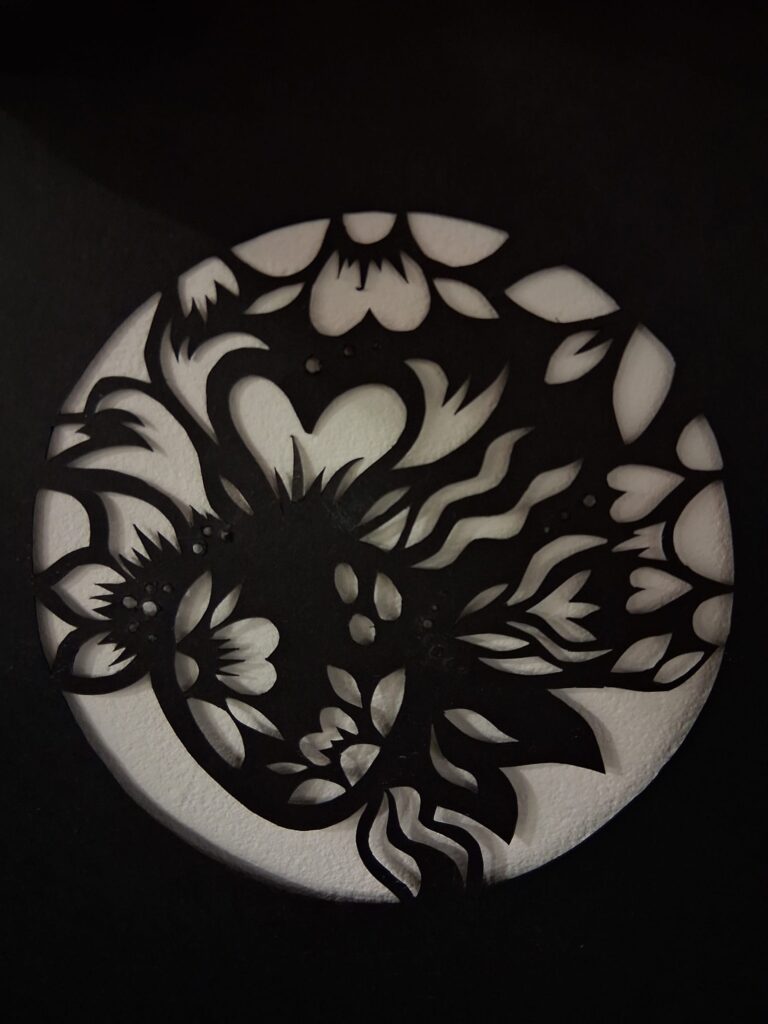
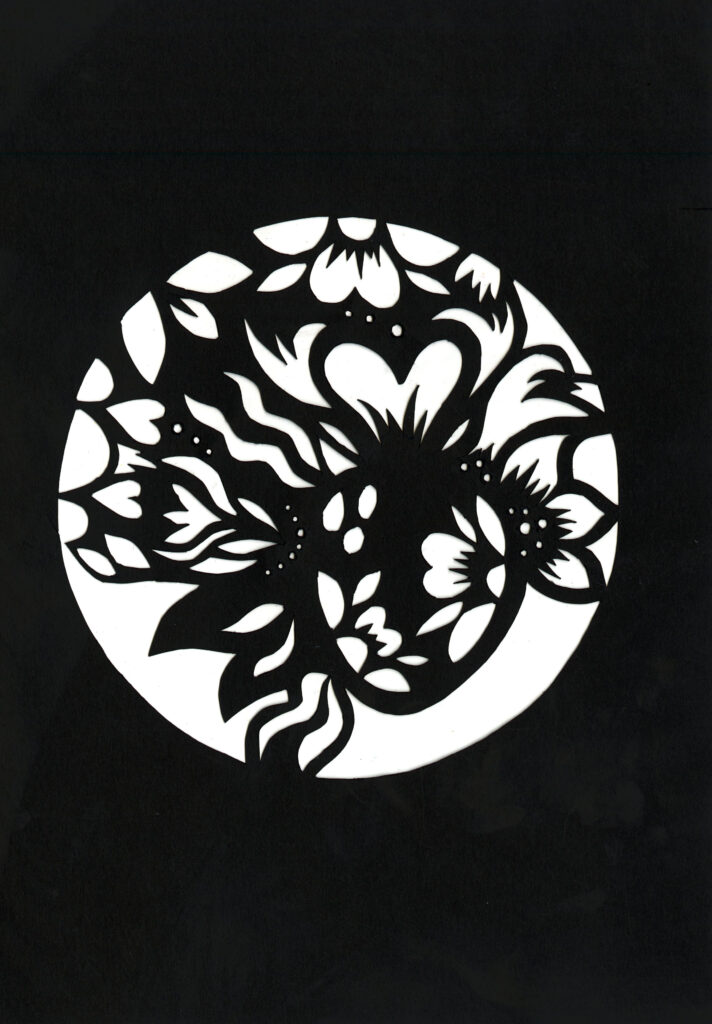
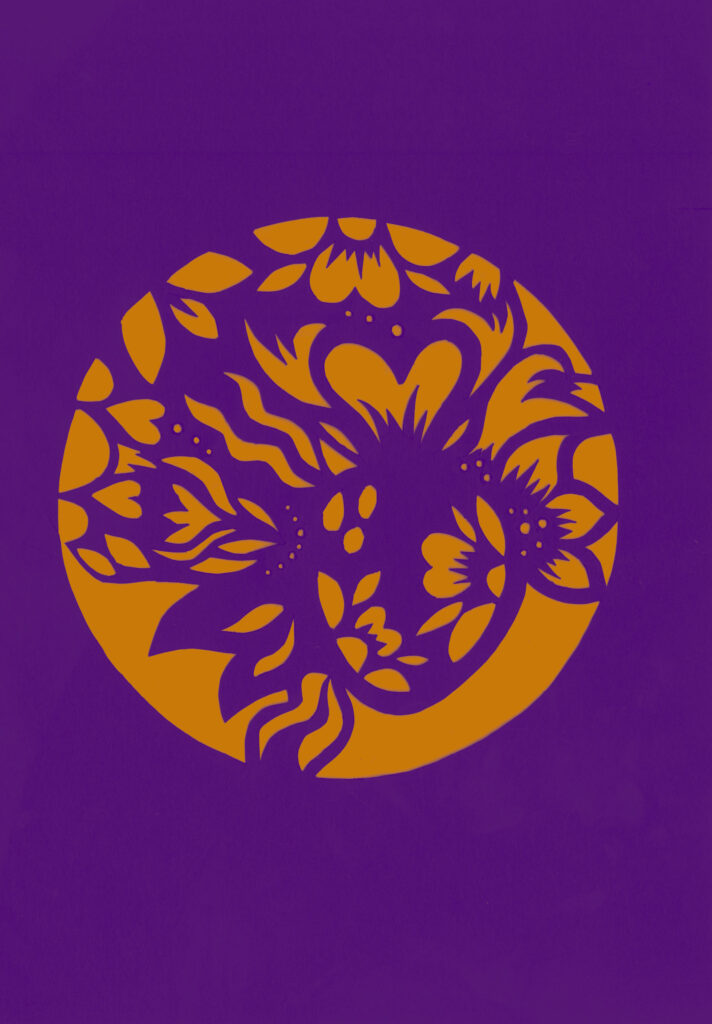
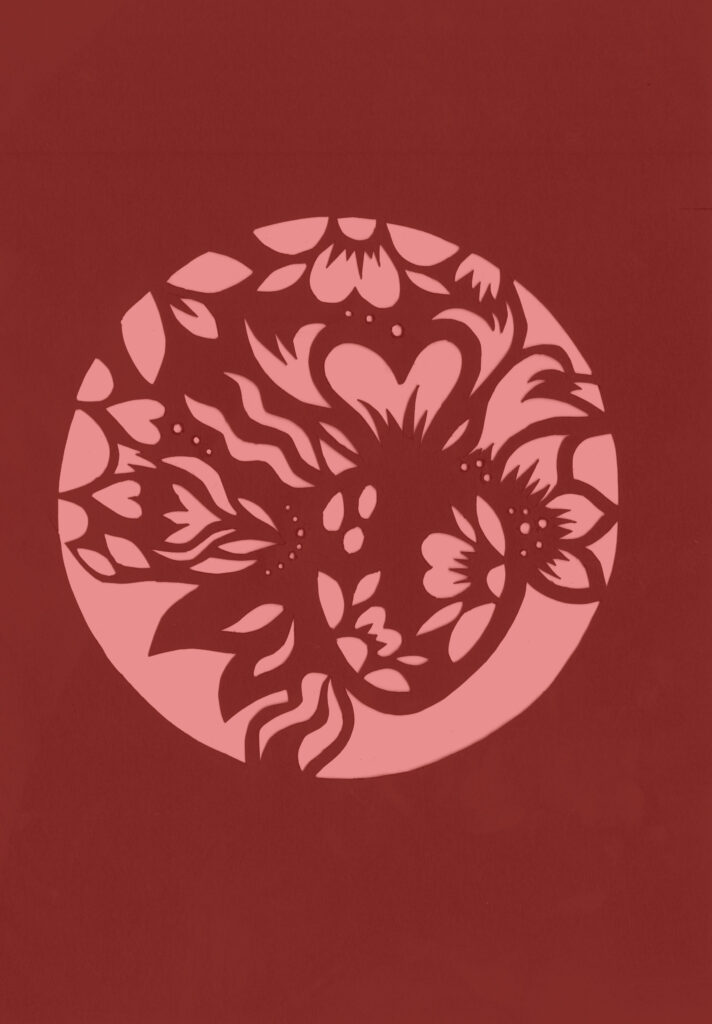
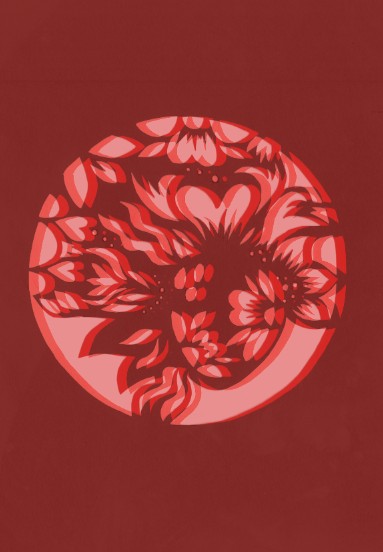
Some quite digital work once I scanned the piece in, using colour range to select it all properly and playing around with different tools and colours. The actual pattern cut out process took a while but it was quite intricate.
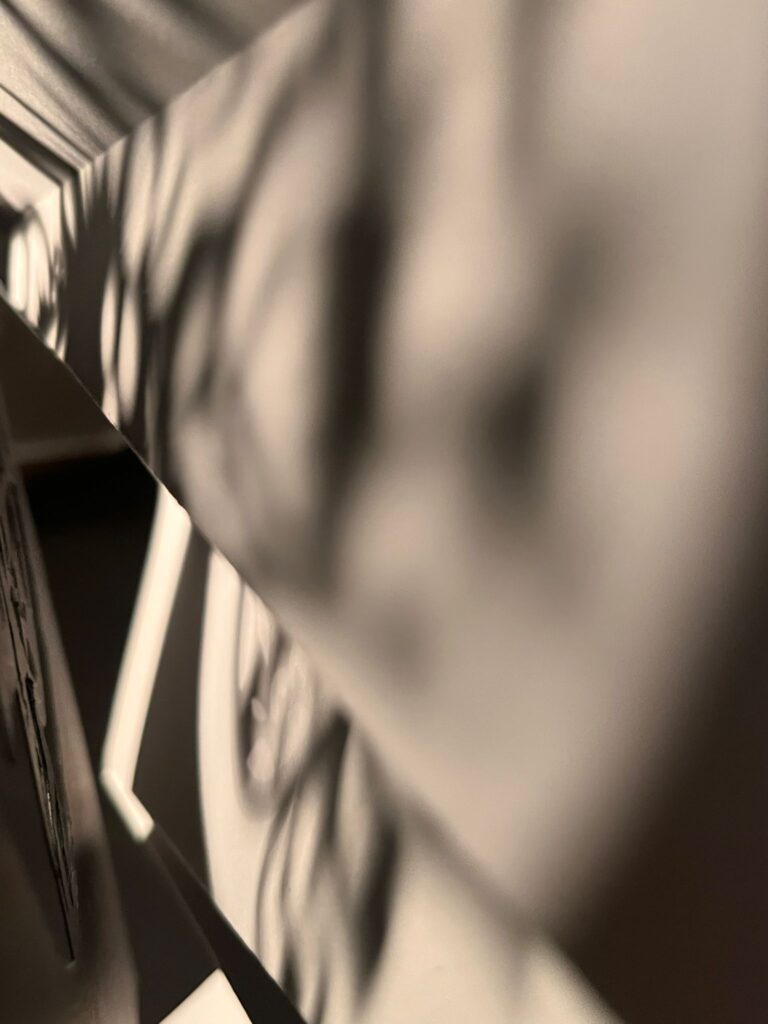
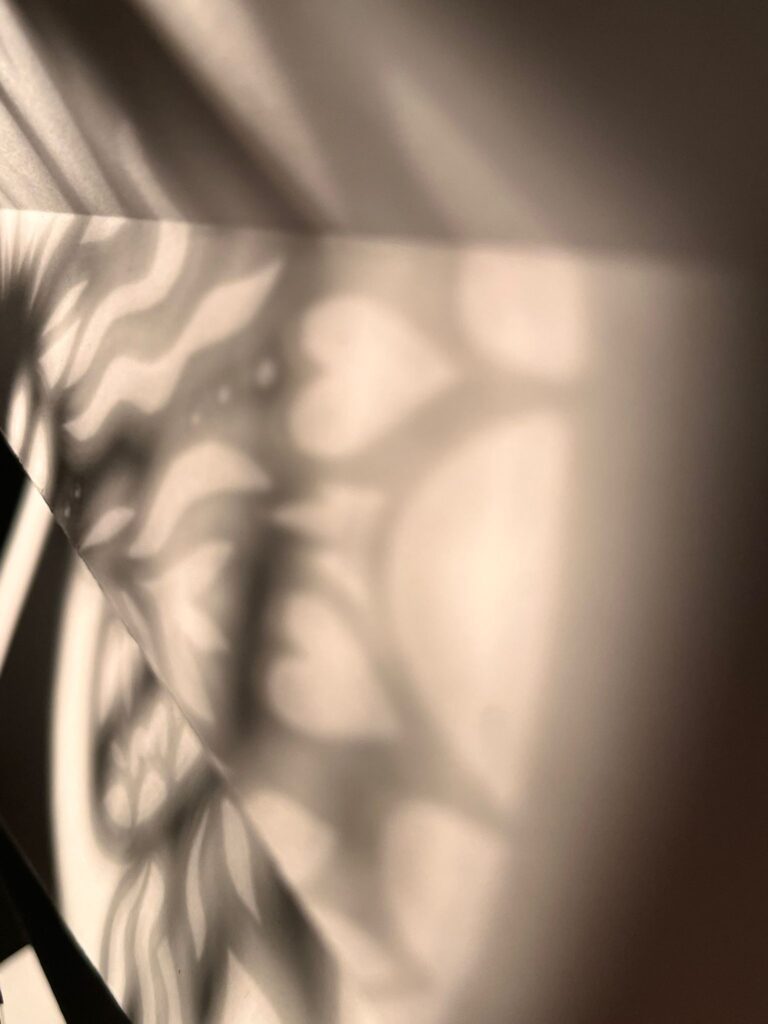
Studio photographs:
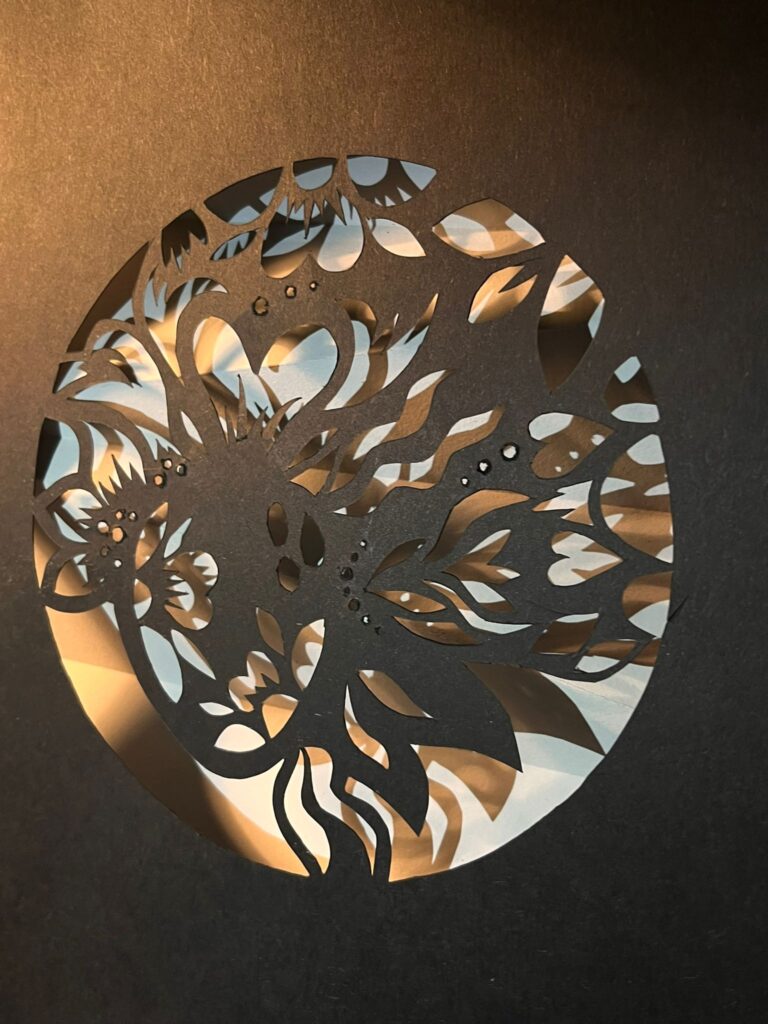
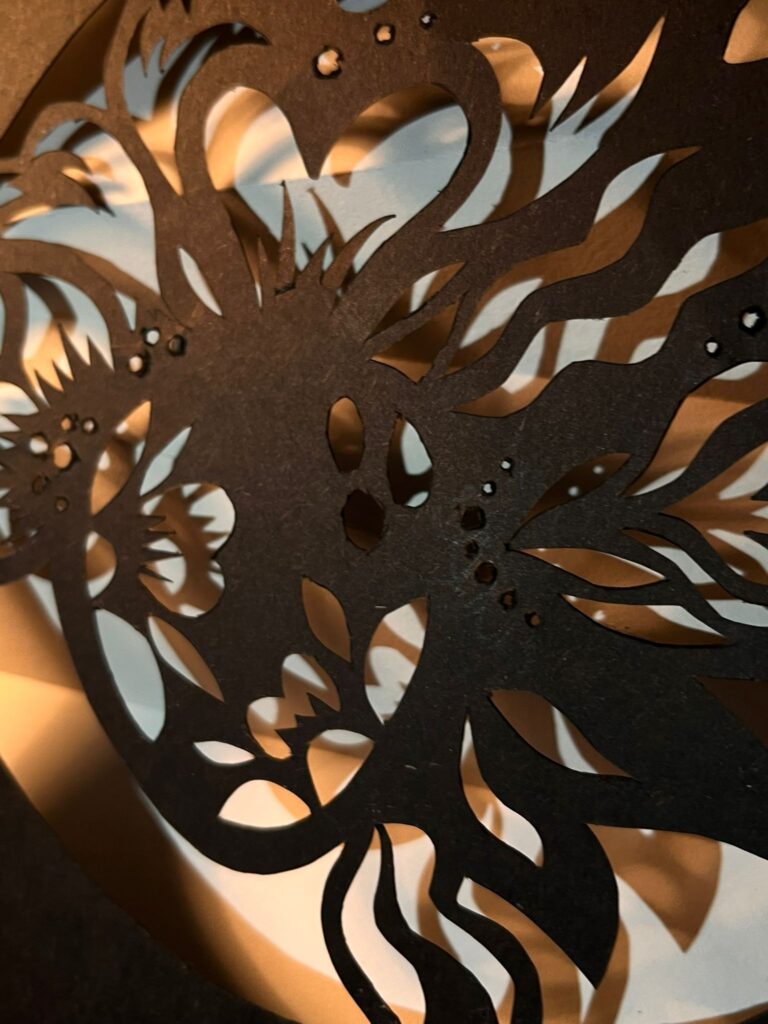
Casting shadows:

Week 4:
Three-Dimensional
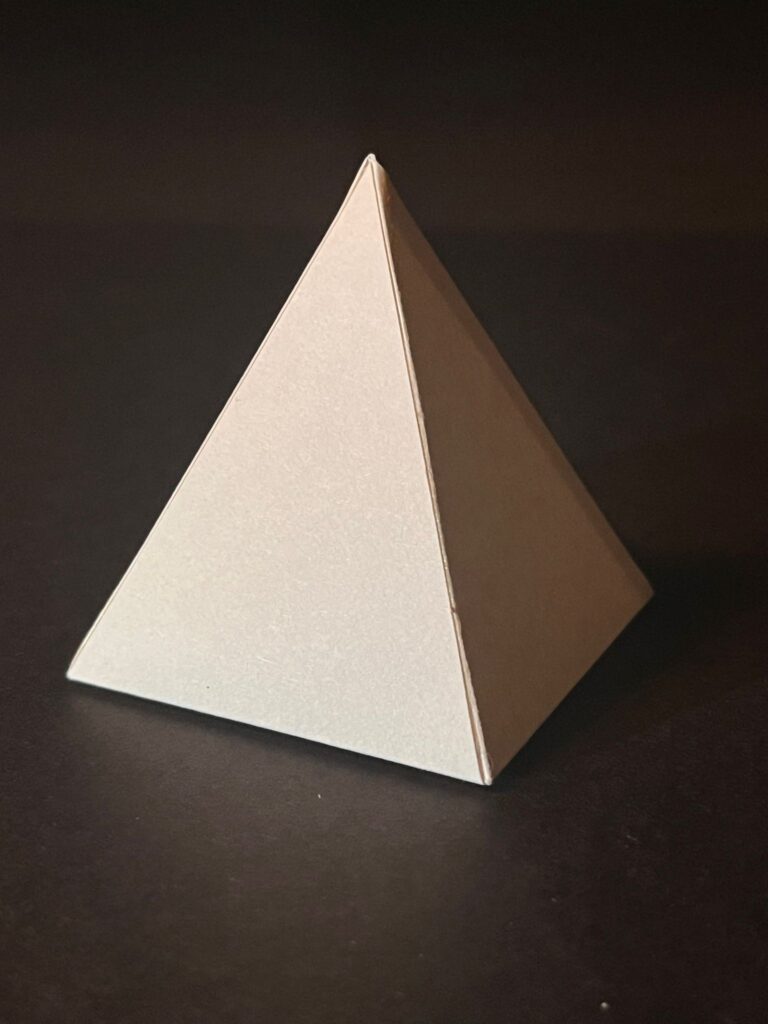
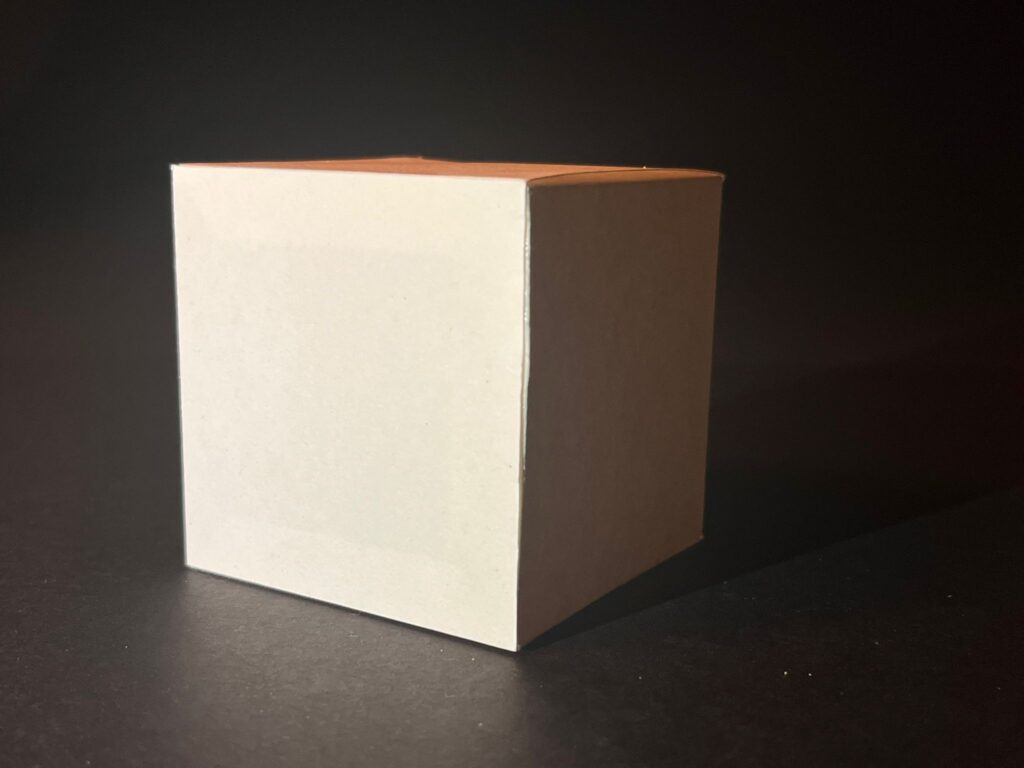
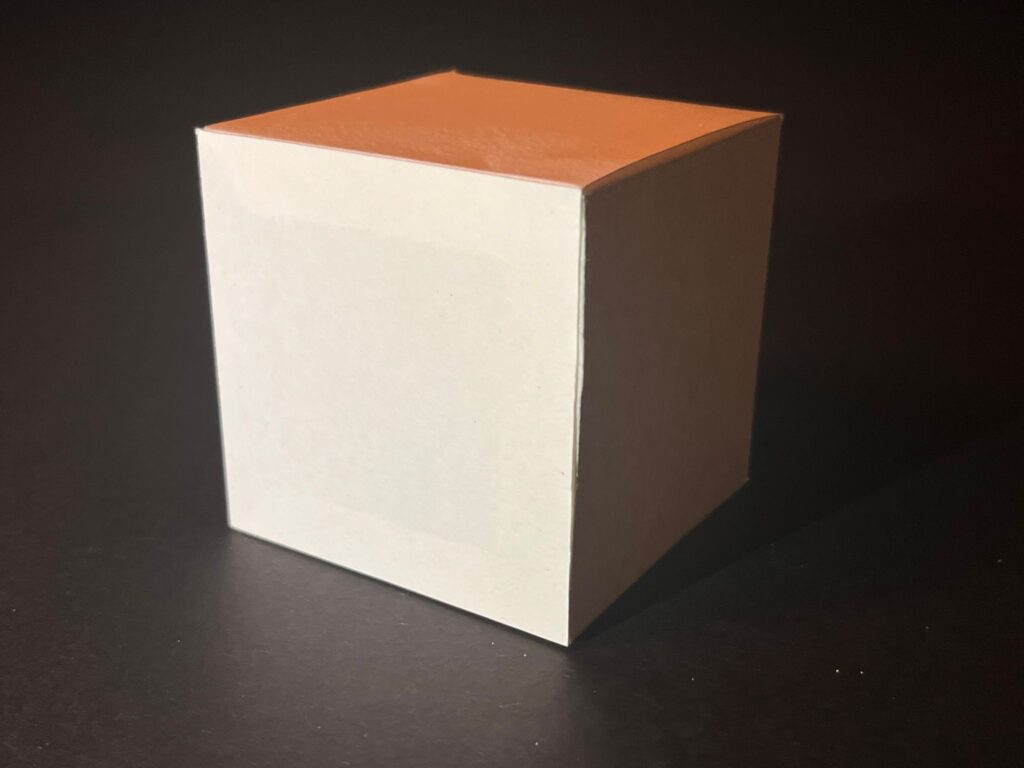
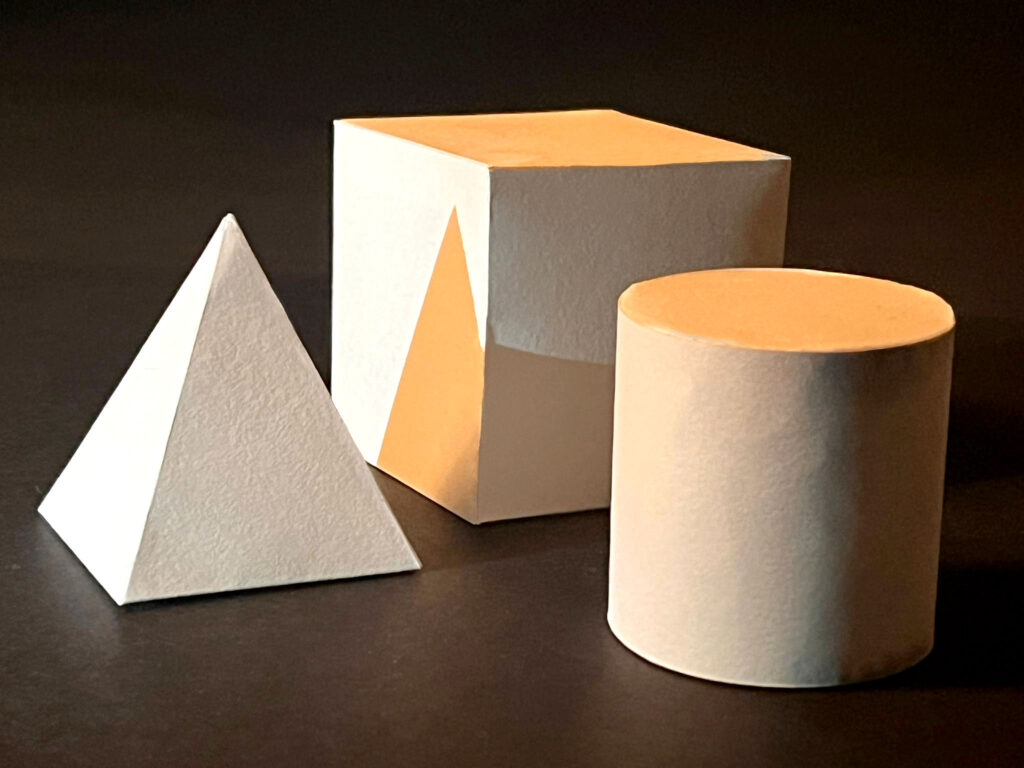
Task 11: Create a perfect Cube, cylinder and pyramid using card. Cube 60mm long, Cylinder 60mm high and diameter 50mm, Pyramid 60mm high and base width 50mm.

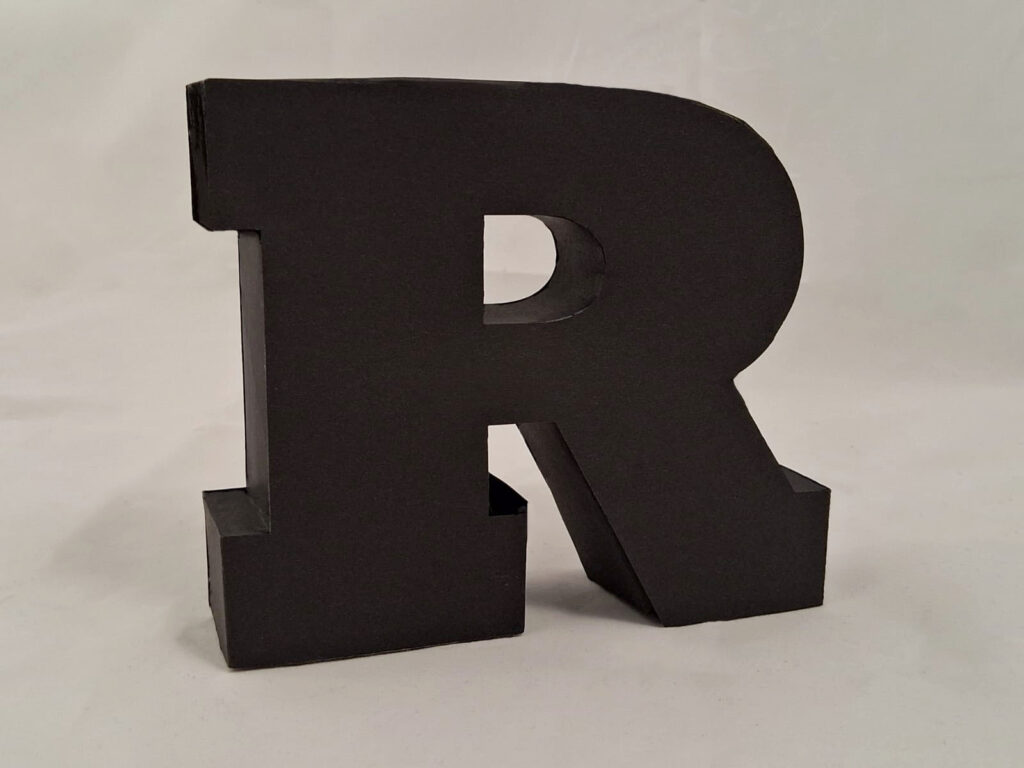
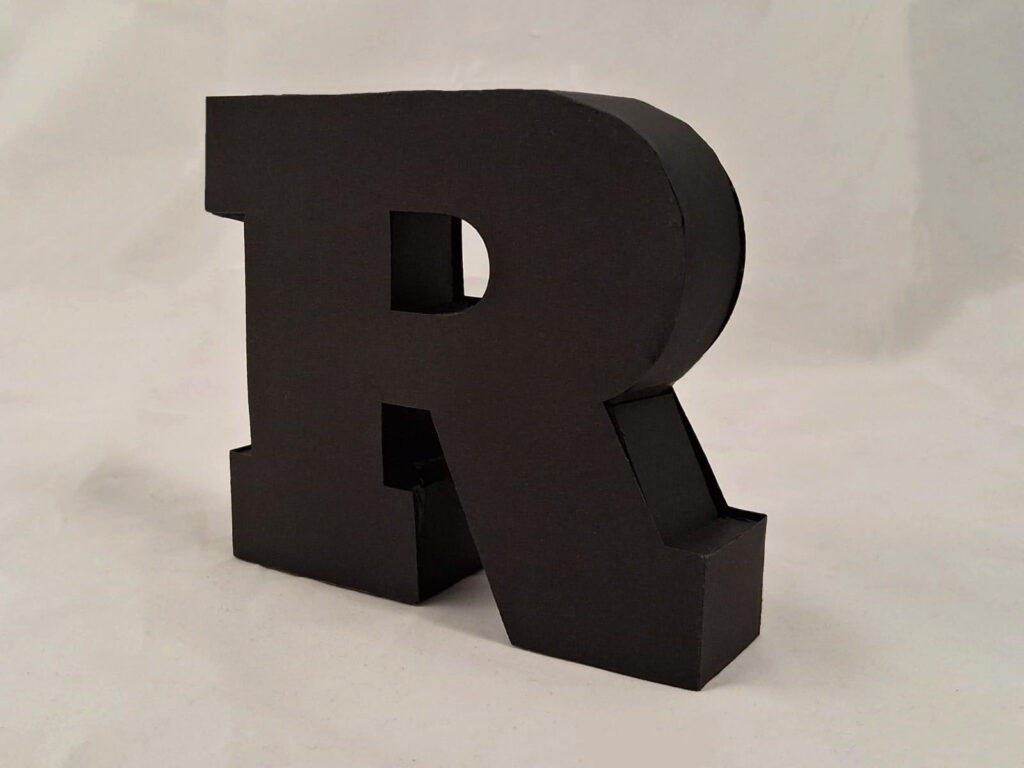
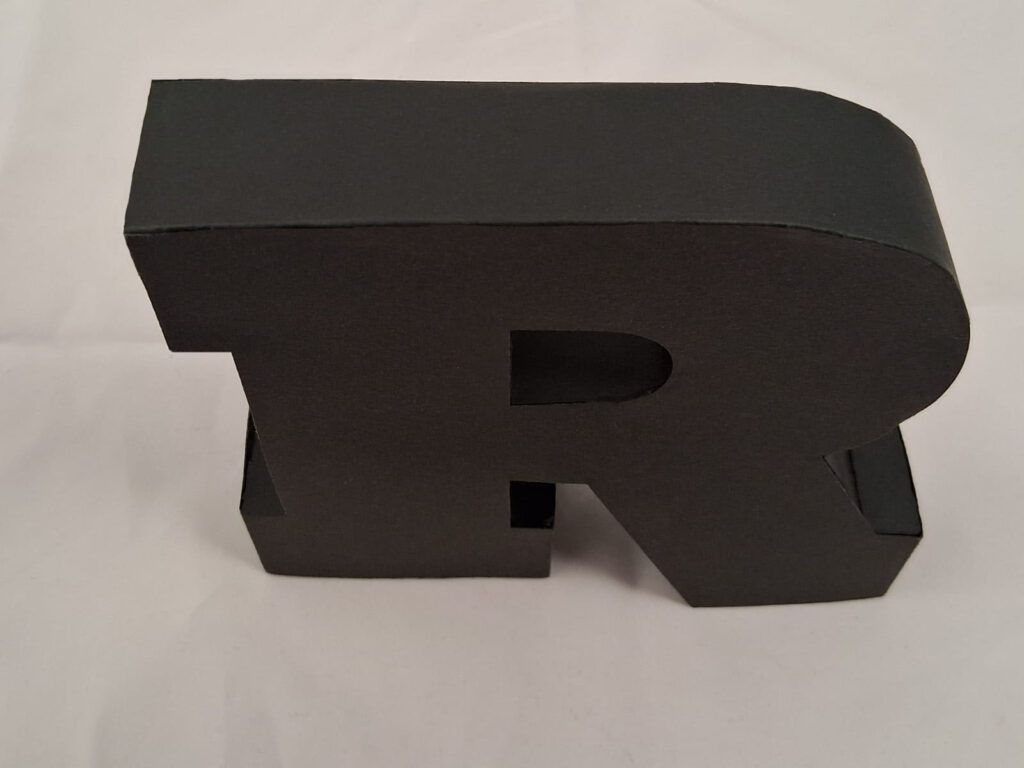
Task 12: Using black card, create a 3D capital letter ‘R’ using the font Rockwell extra bold. 140mm high, 40mm deep.
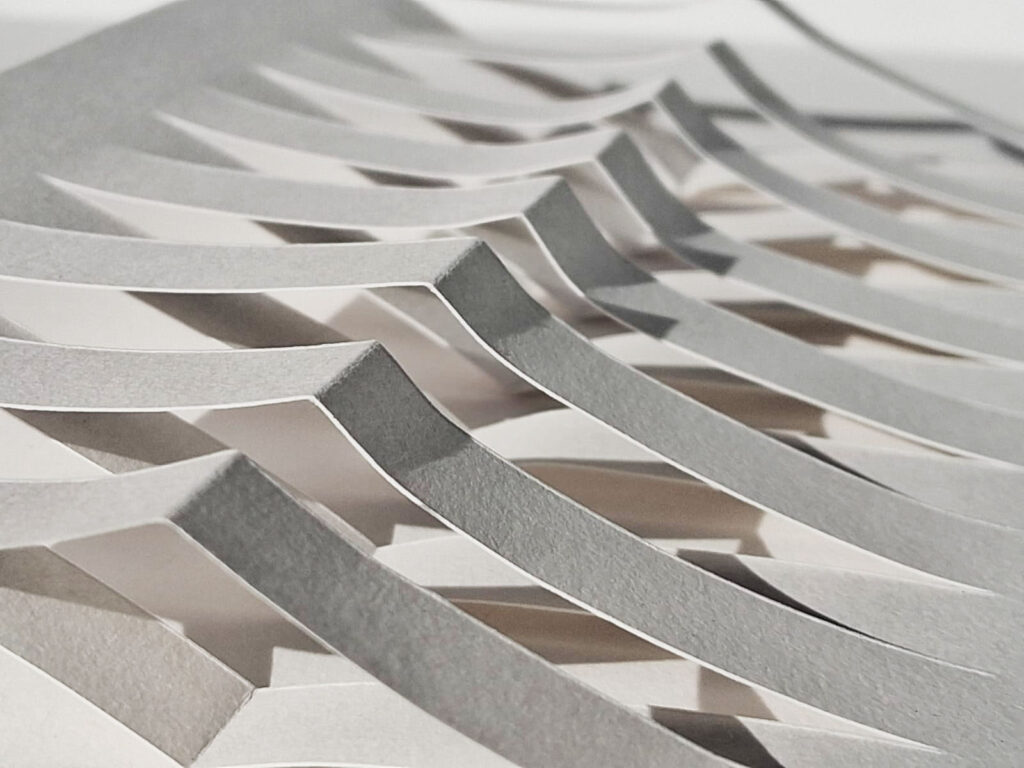
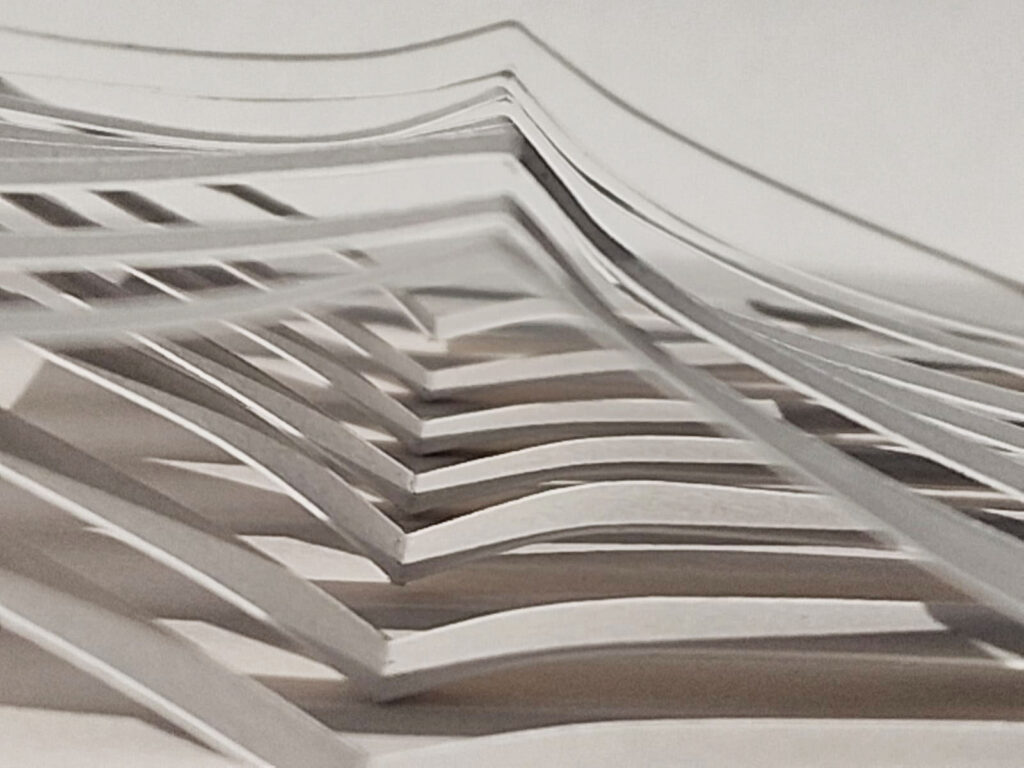
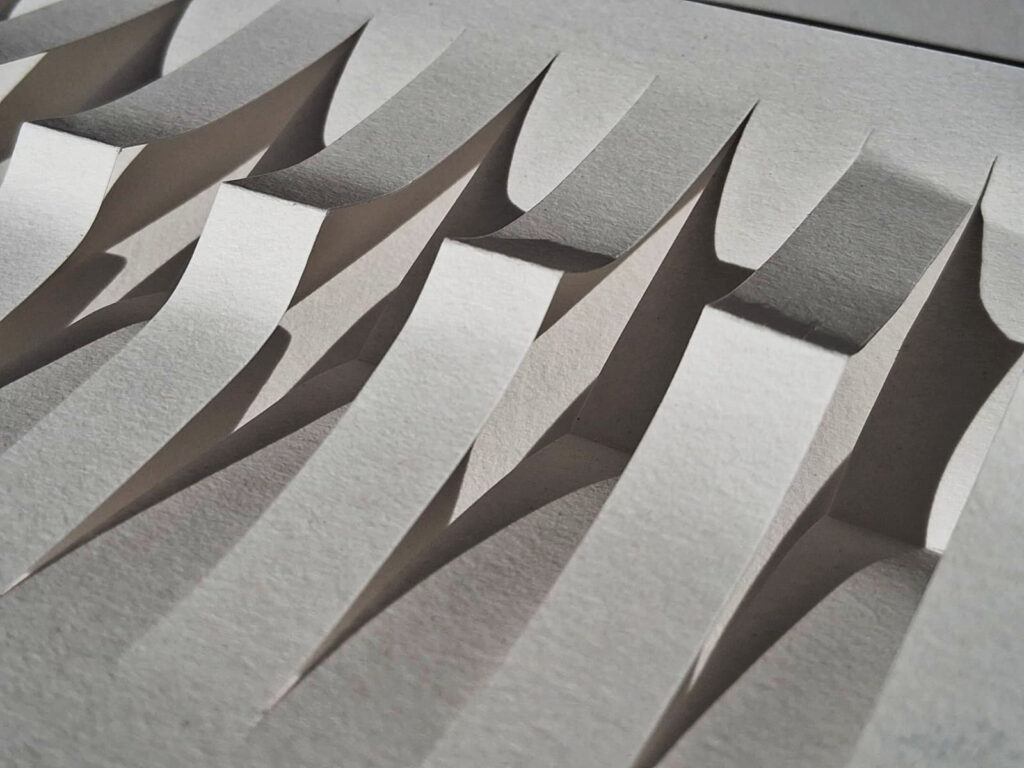
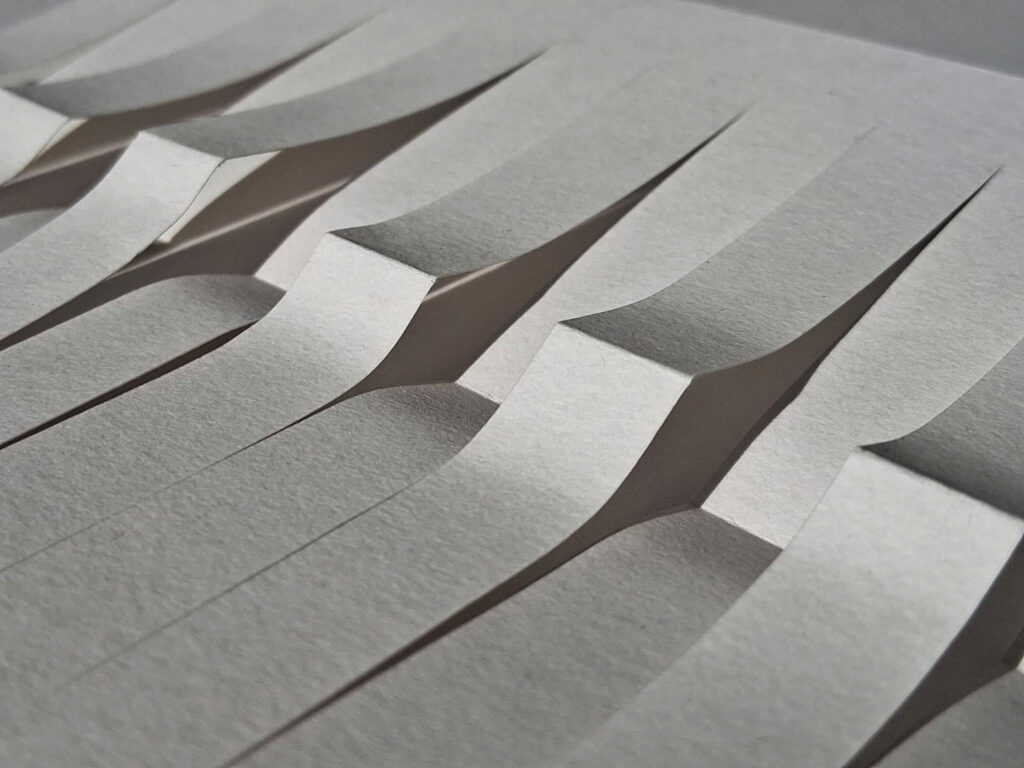
Task 13: Experiment with surface pattern created using cutting and folding techniques
Pattern 1:
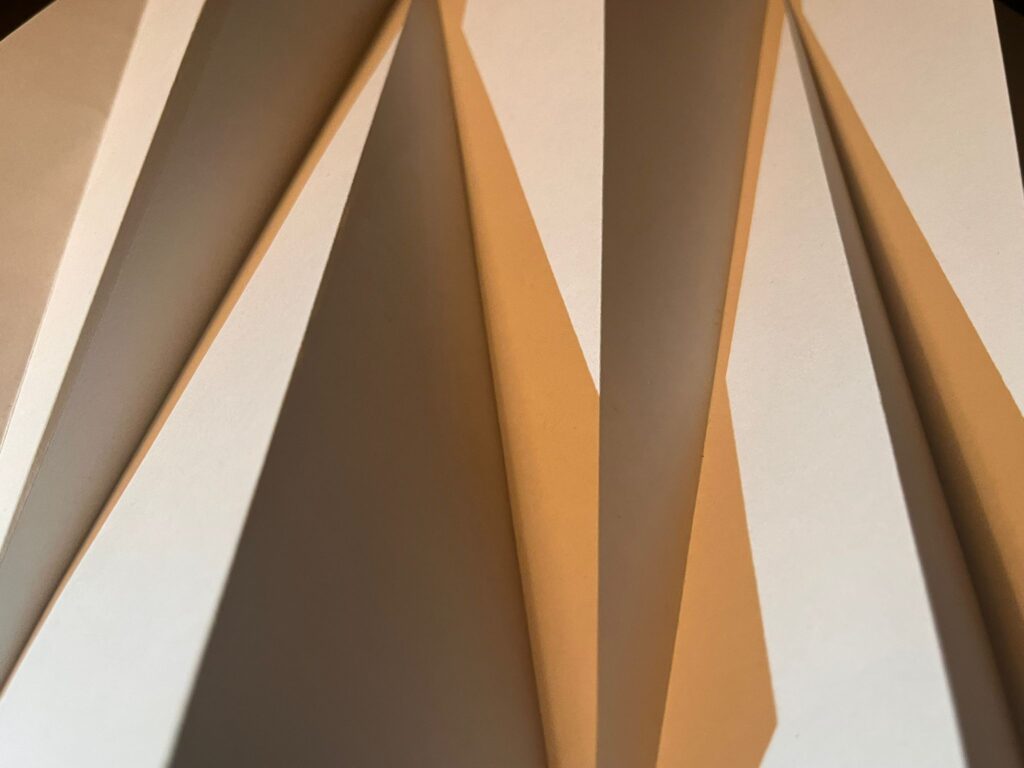
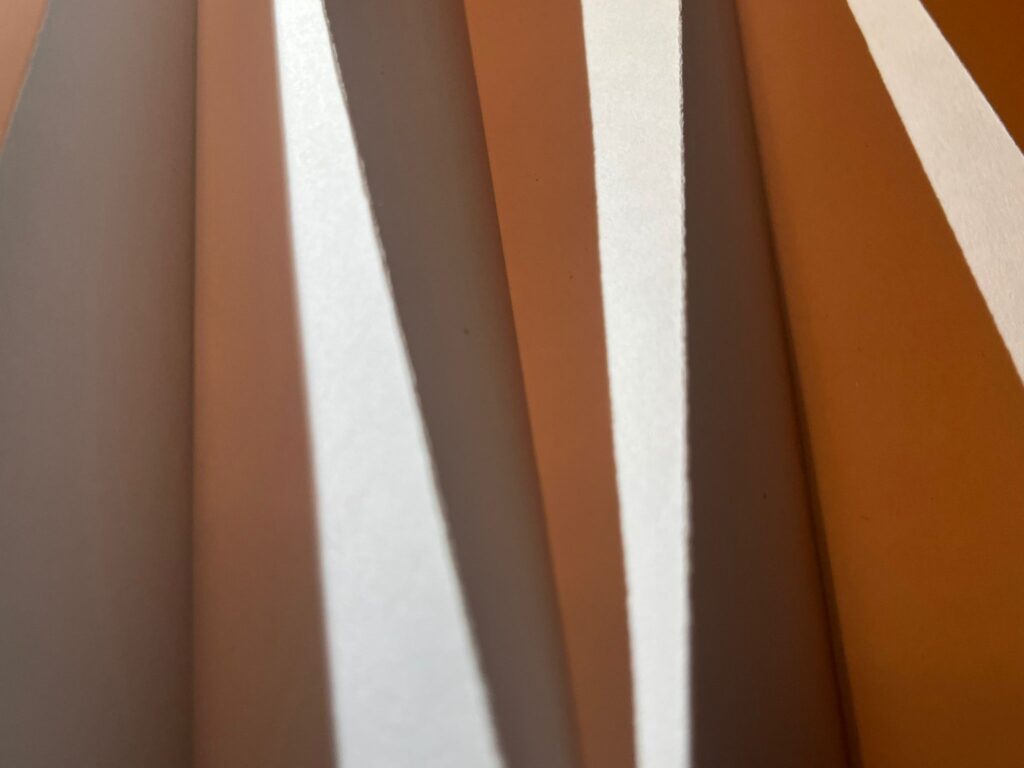

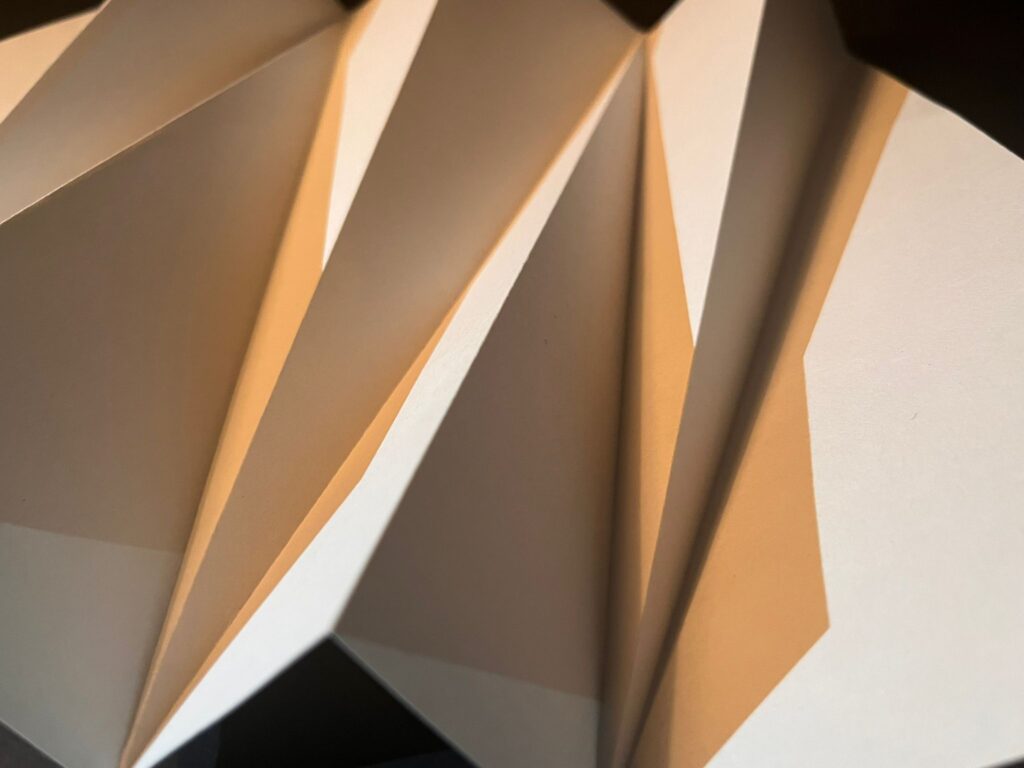
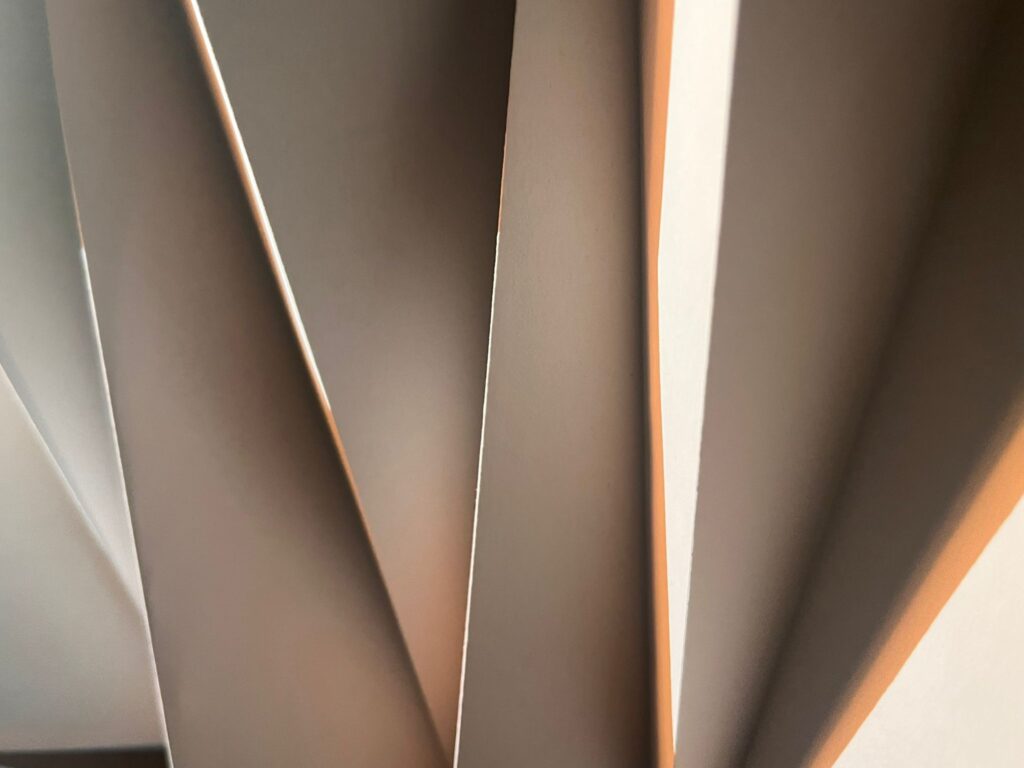
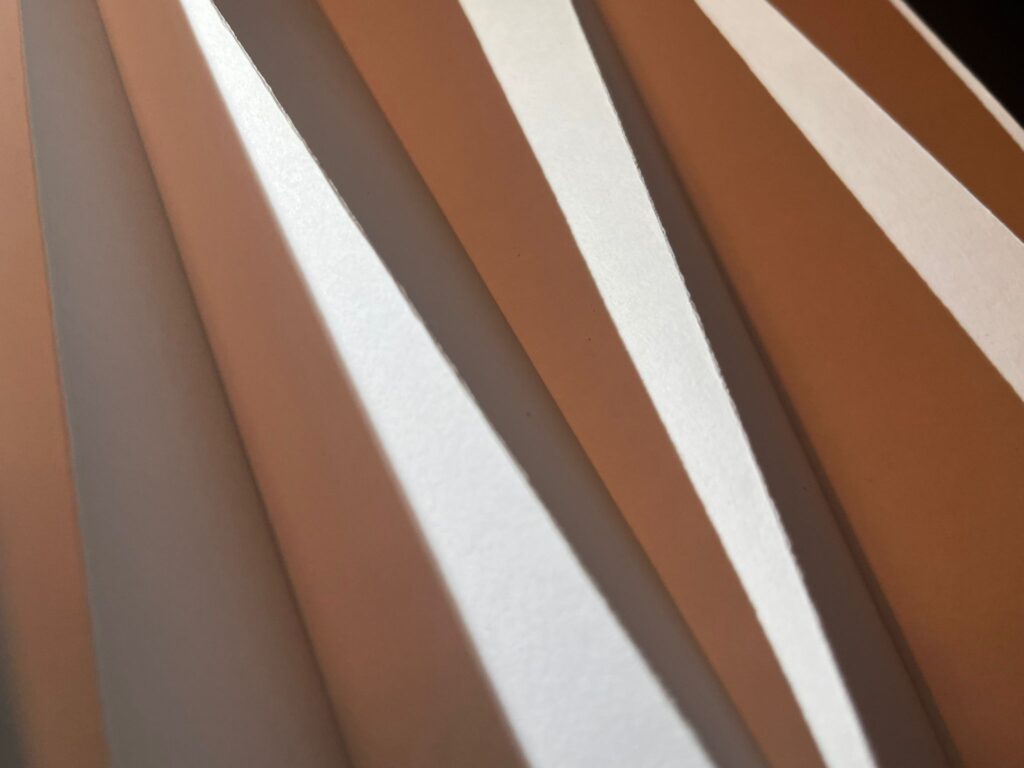
Pattern 2:
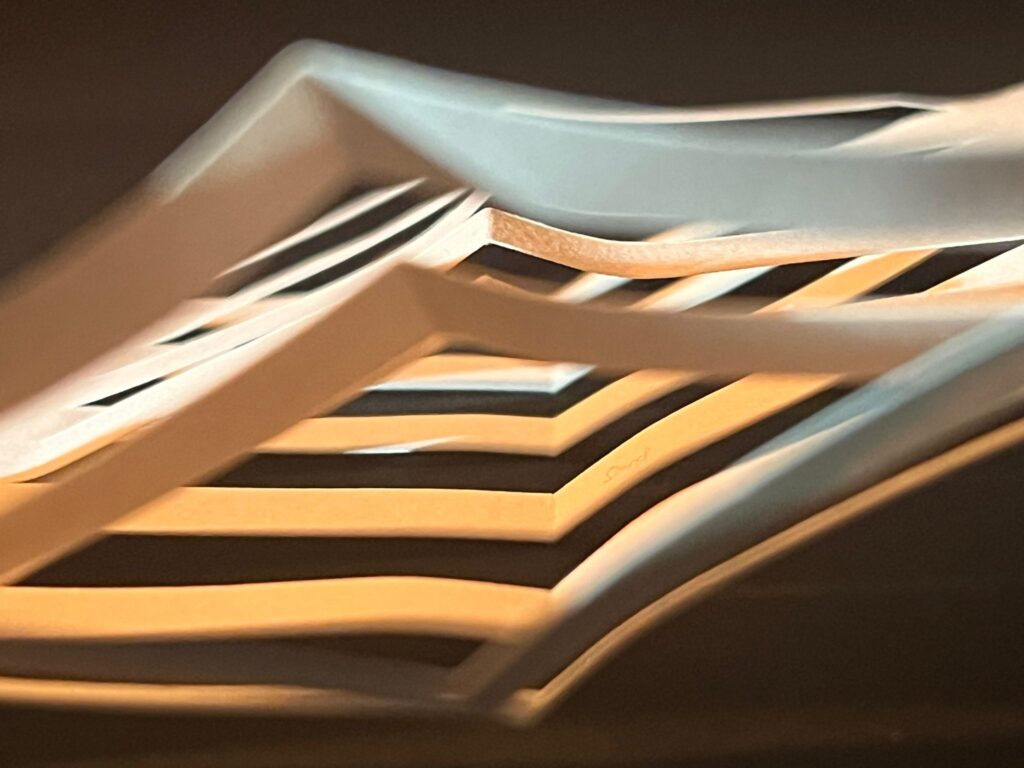
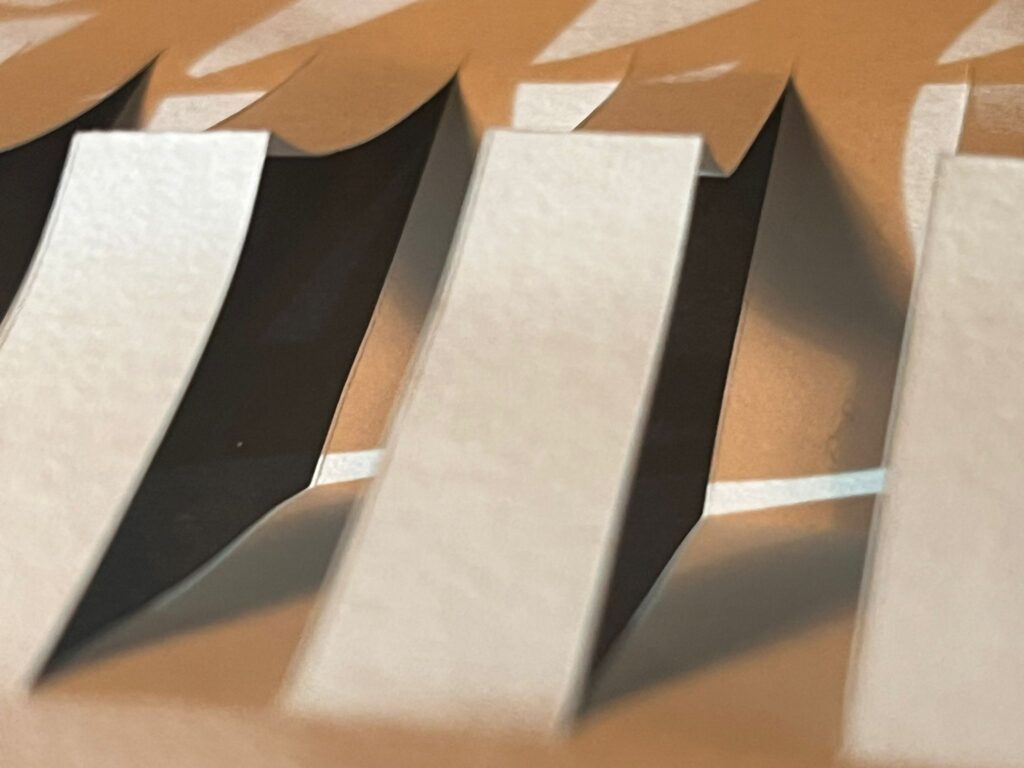
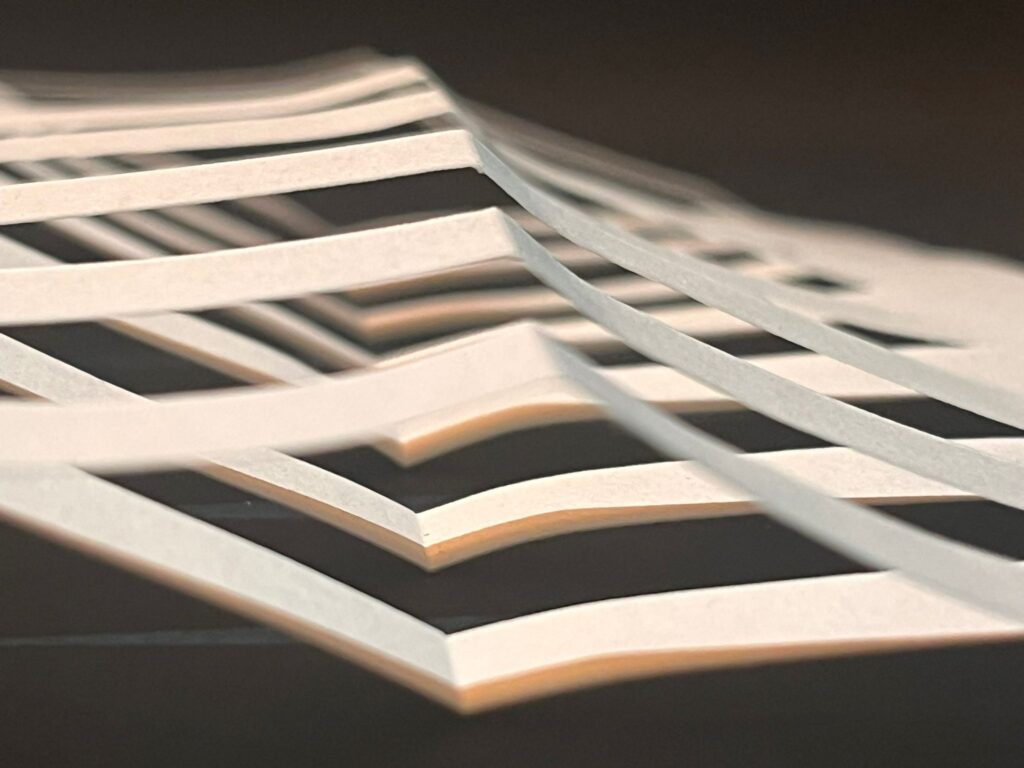
Photographed these in the studio with harsher lights, the ones below done with natural light shining creating the sharp shadows.
Graphic design
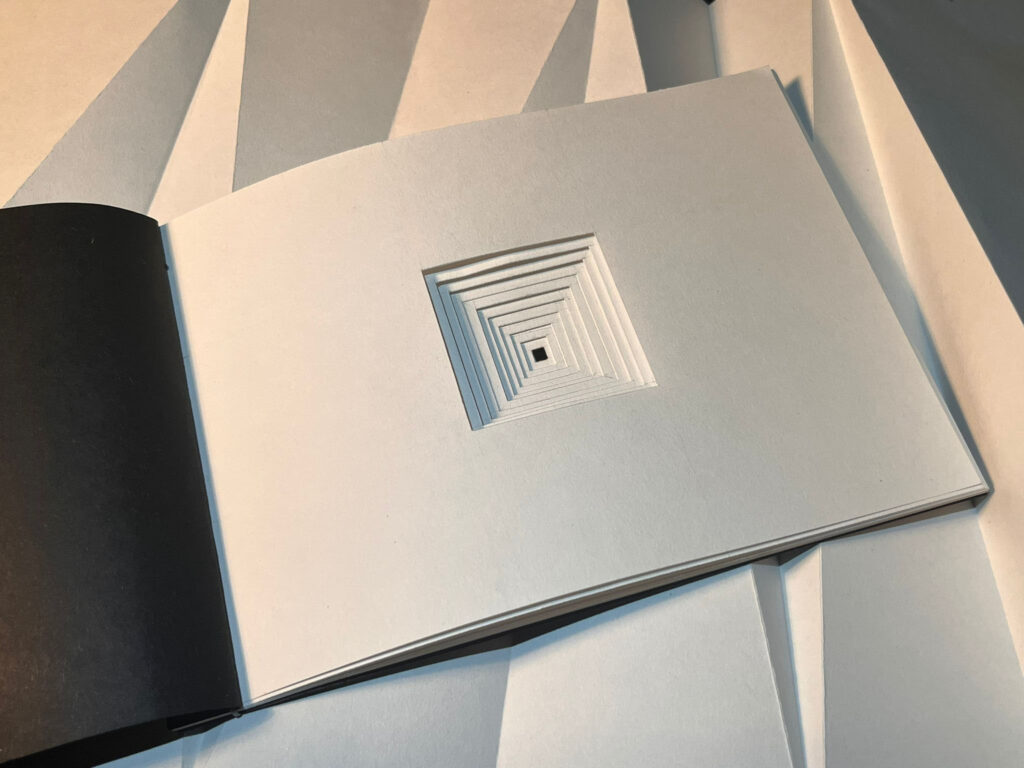
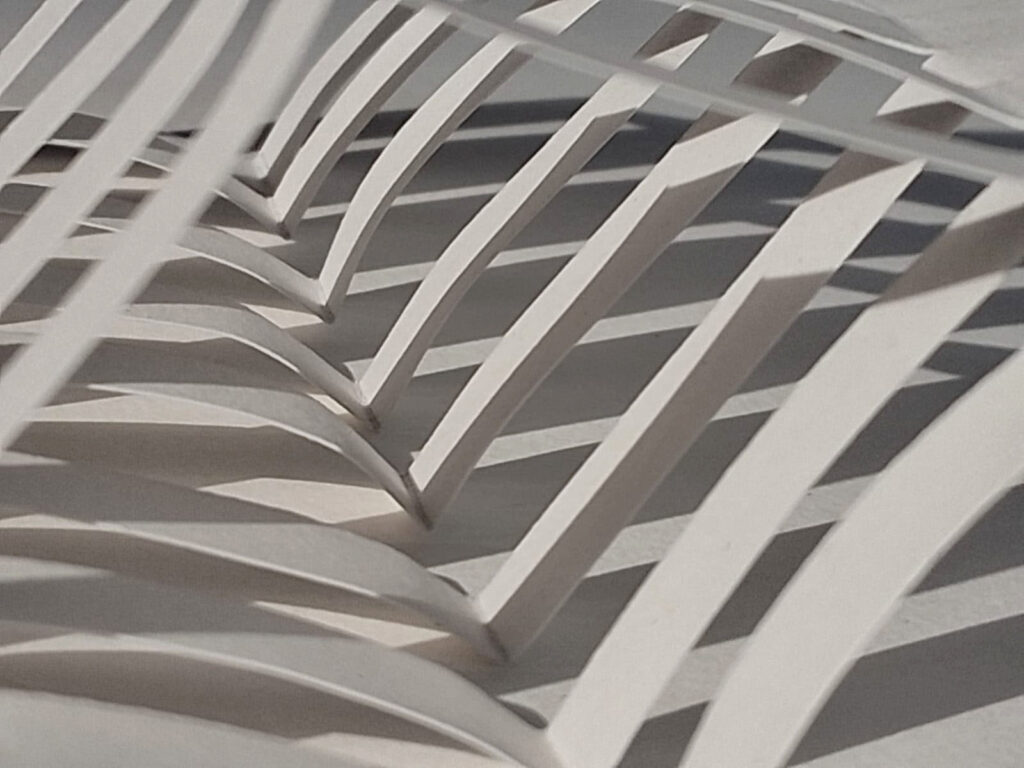
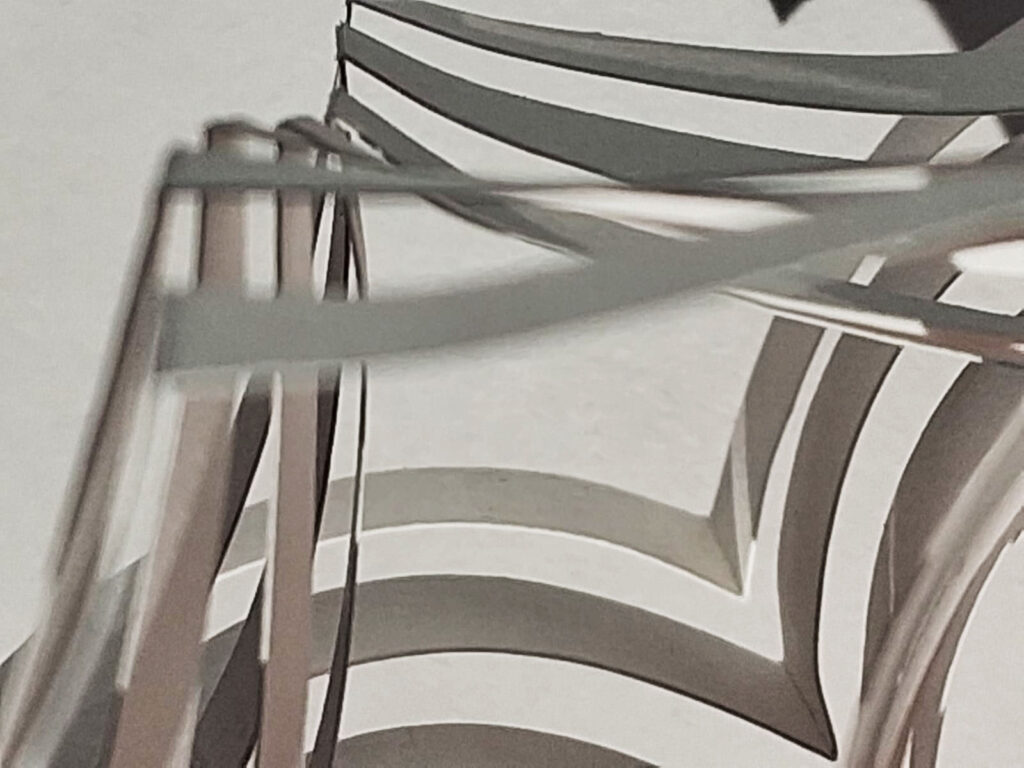
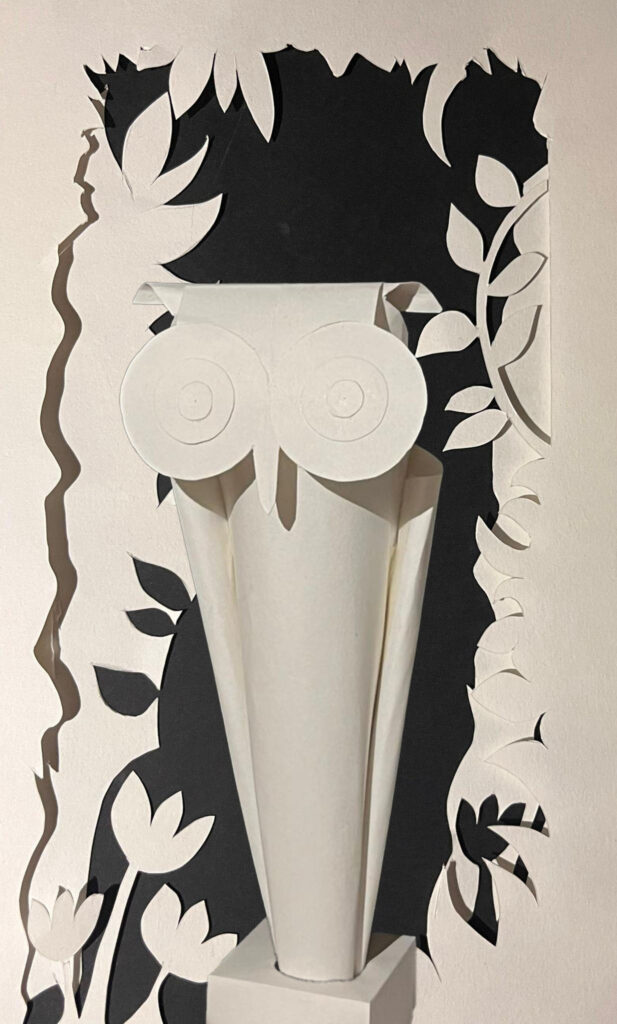
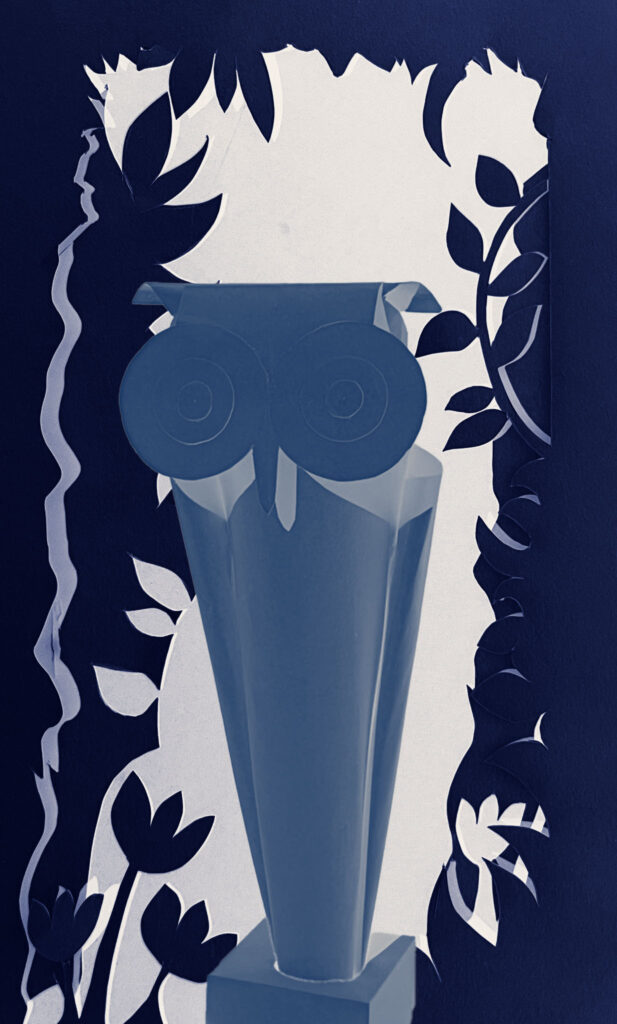
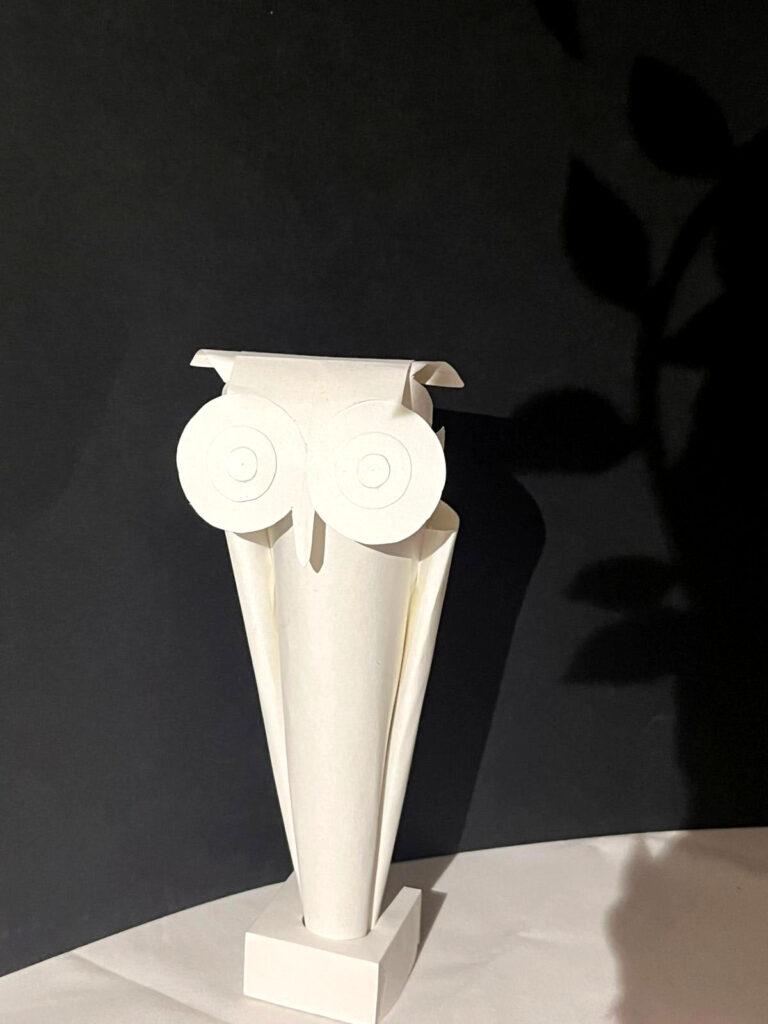
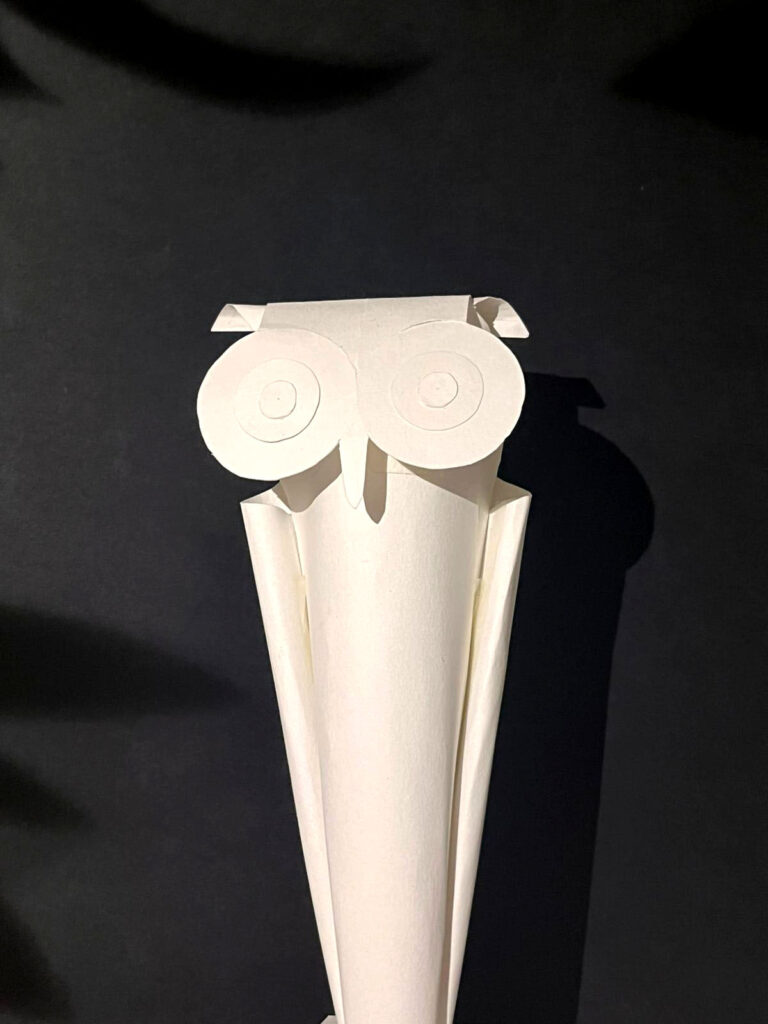
Task 14: Create a white, low-relief paper sculpture


Part 2:
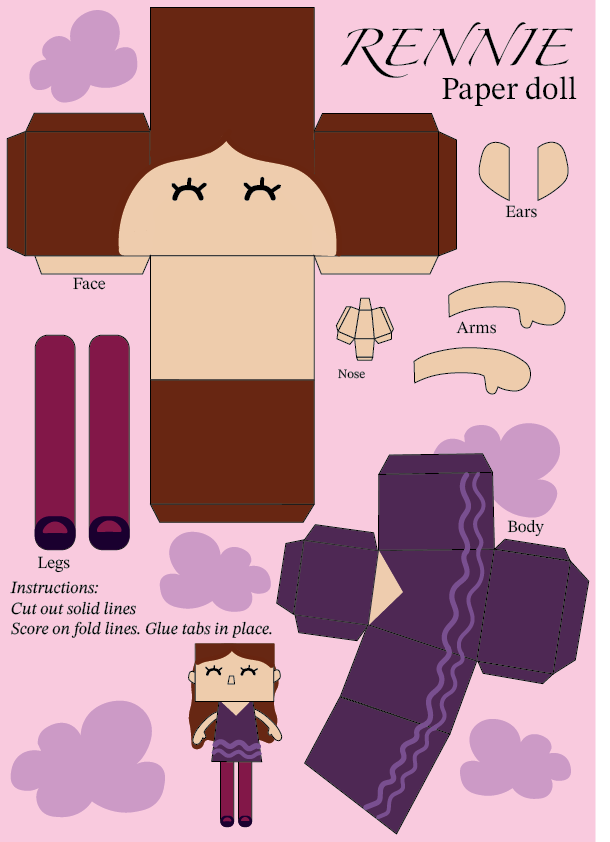
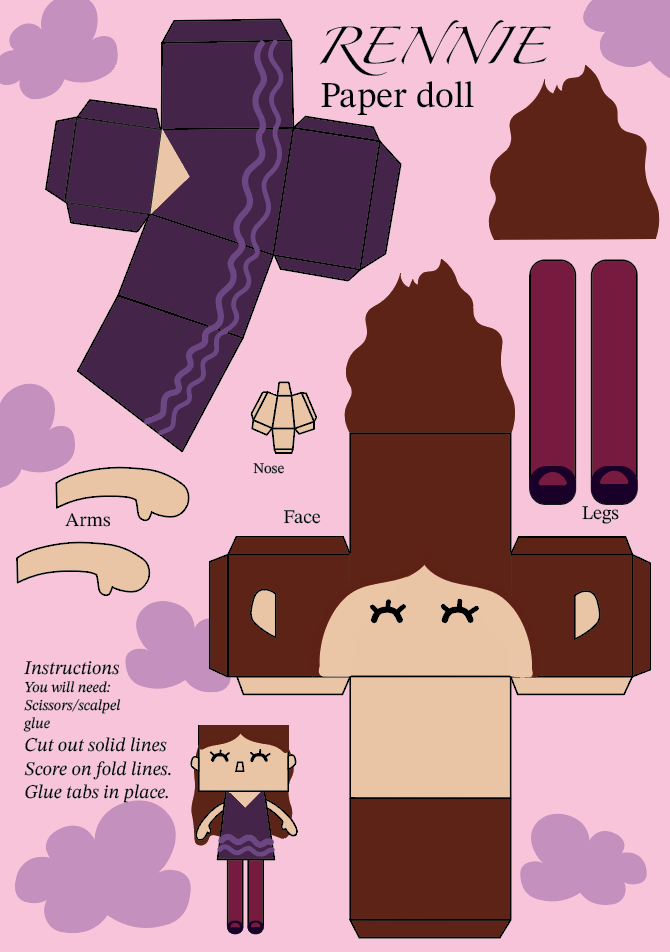
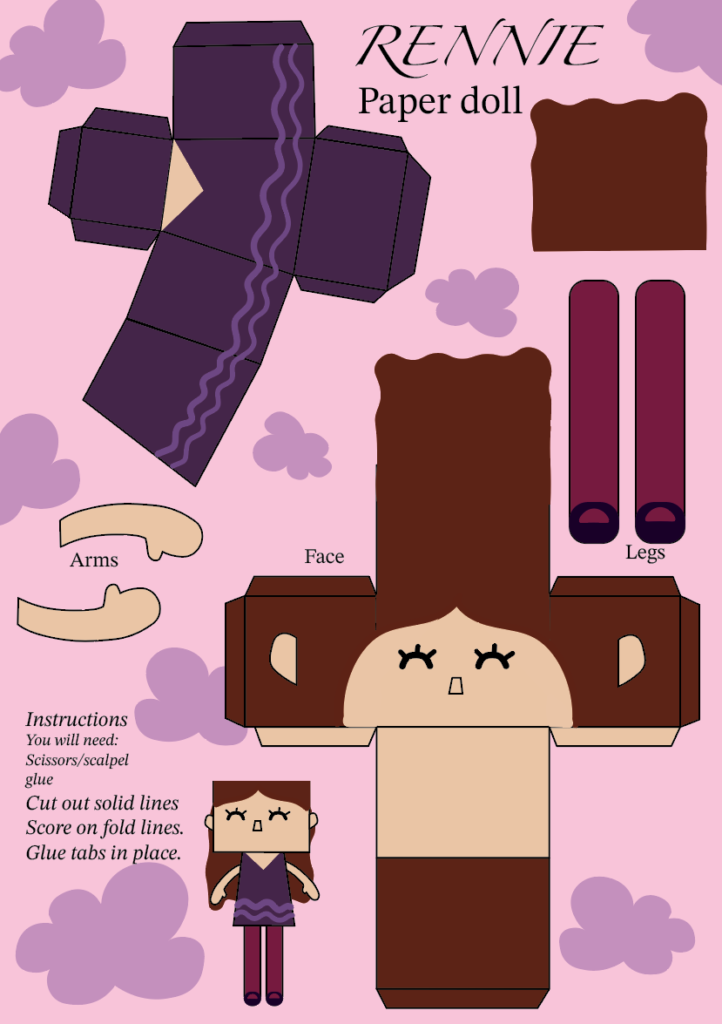
Task 15: Create your own version of paper dolls as yourself
Research
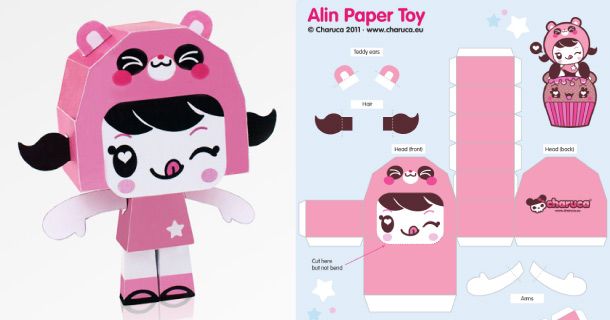
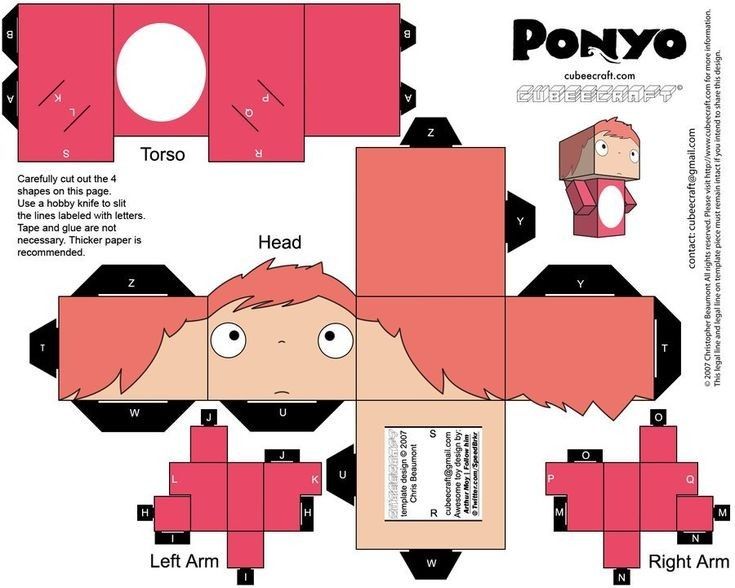
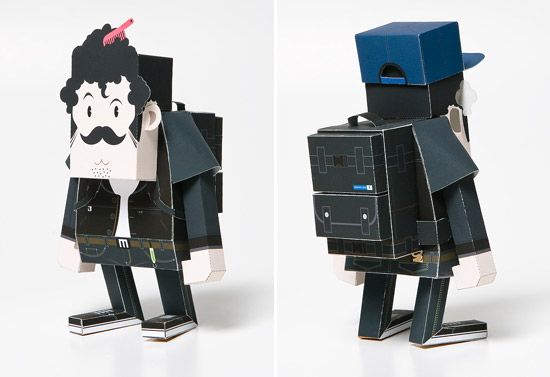

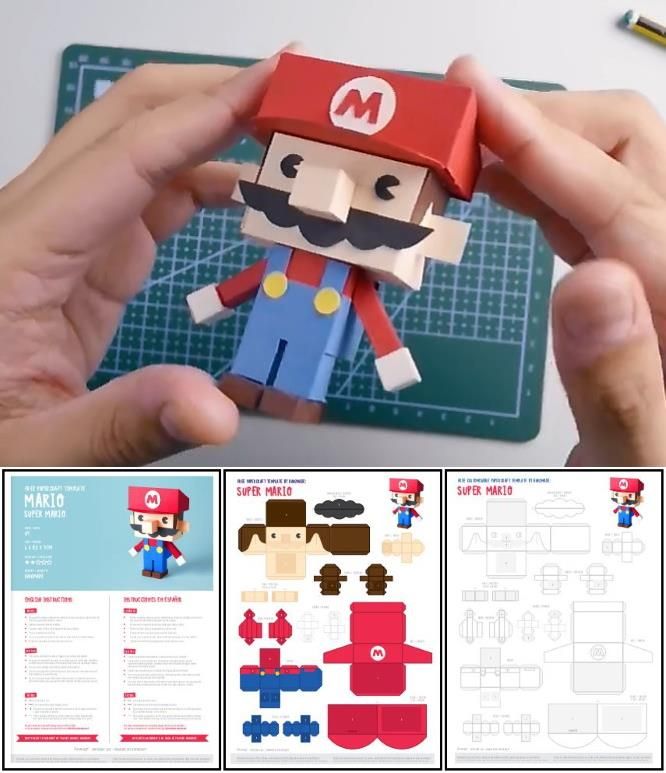
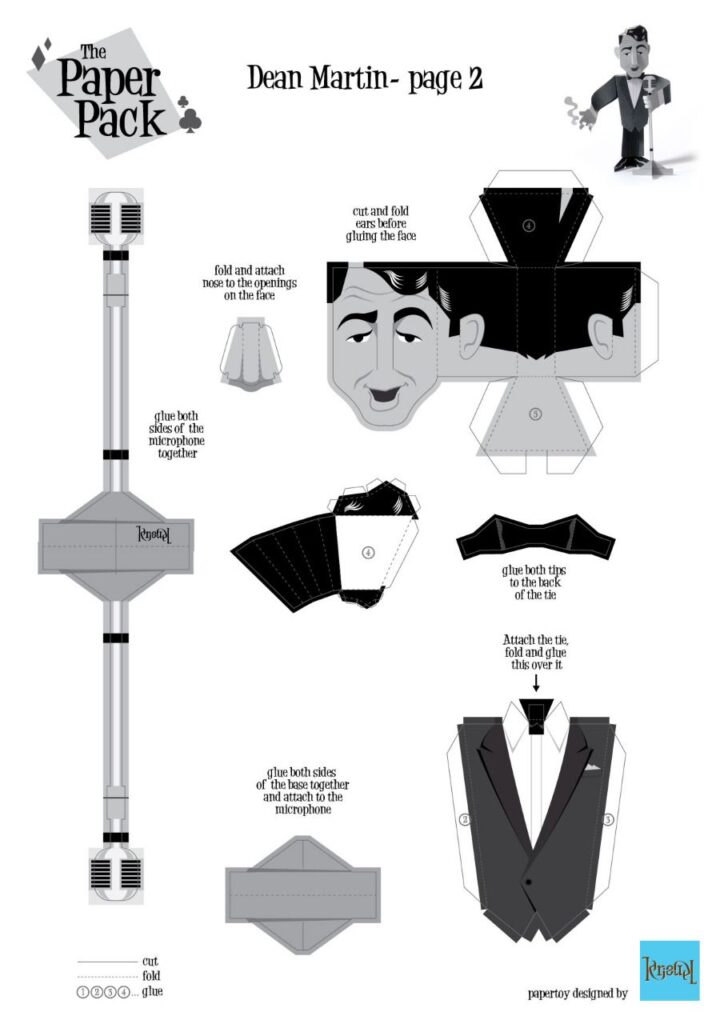
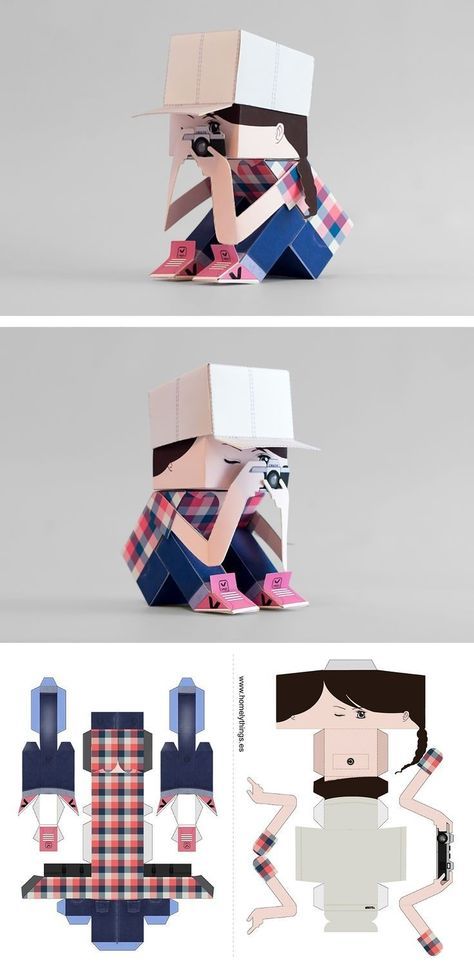
Net Designs
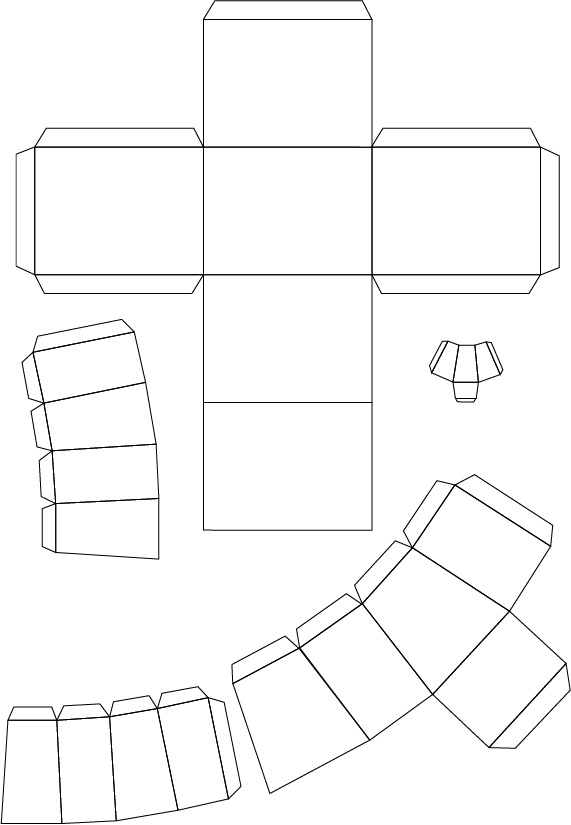
Mock-up/practises
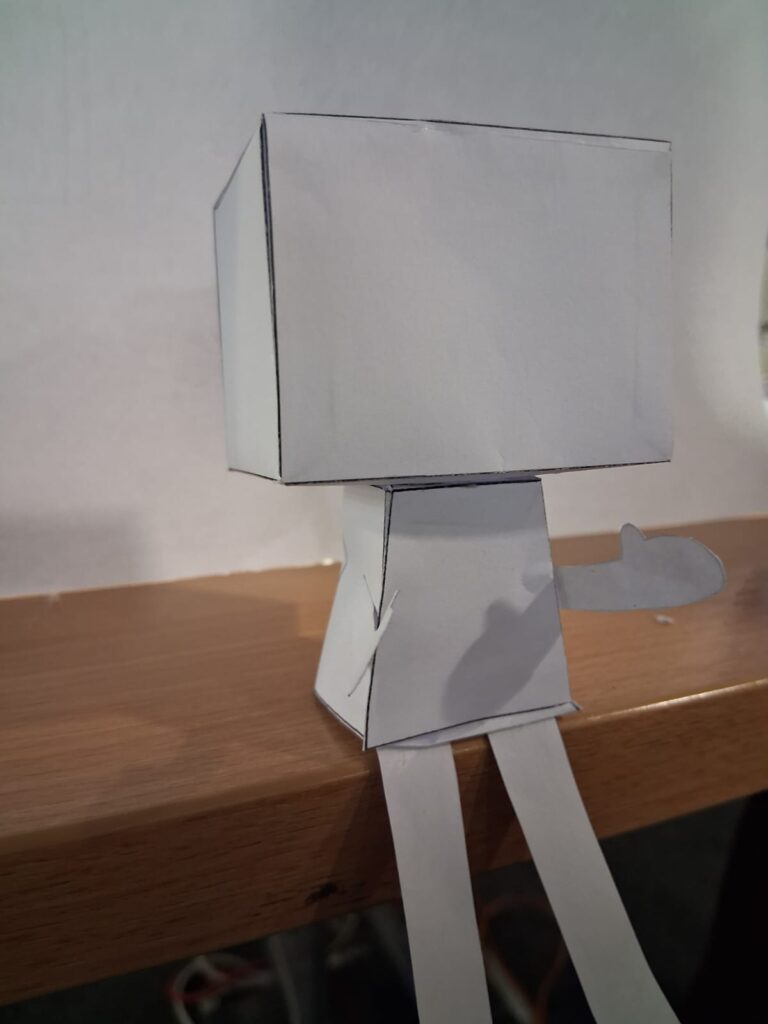
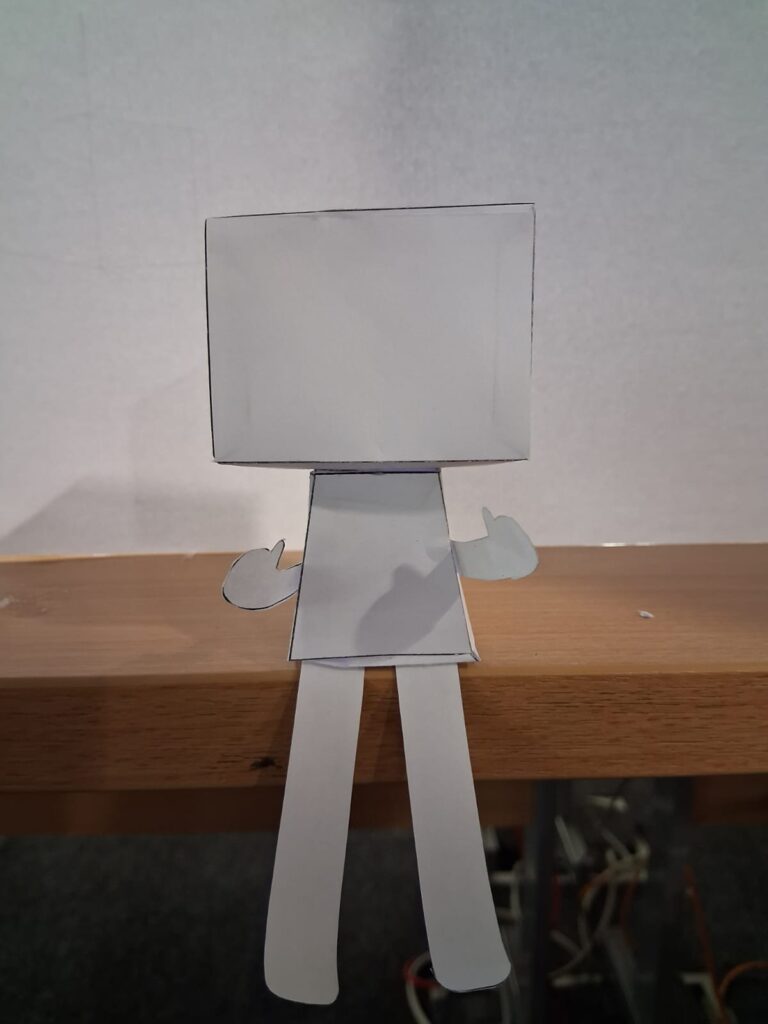
The first try outs that I did, the head was quite bulky, so I will make it slightly smaller. I quite liked one of the designs on Pinterest and so started with that as a base but I didn’t quite like it and so decided to do some different legs, more simple and focus on the rest of the body.
Feedback:
It wasn’t very visually interesting and lacked colour, make it appealing for people to want to make it.
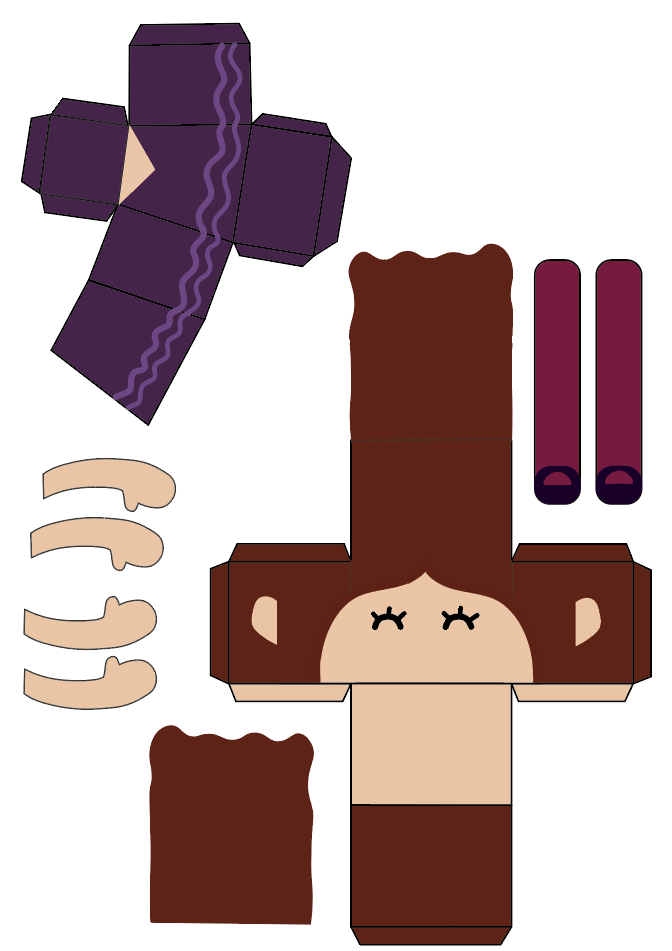
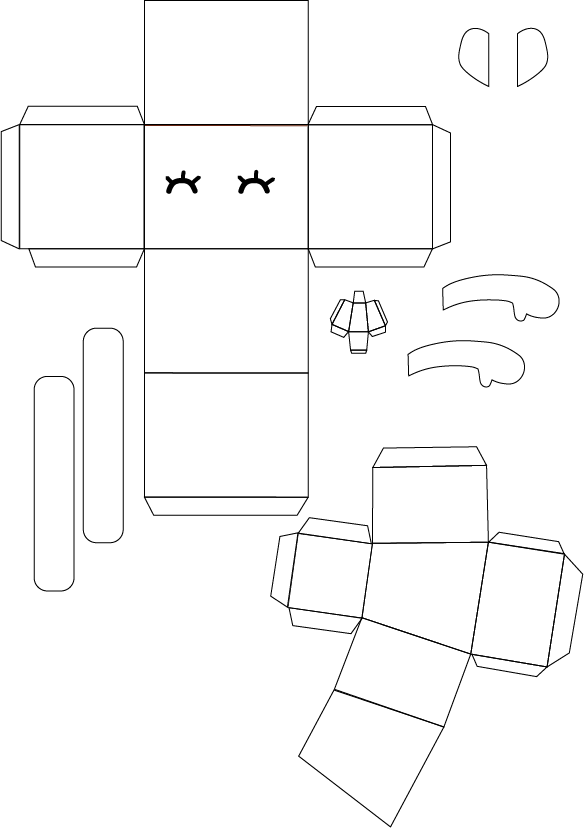
Development net design
I had to move it around a bit so that I could it the hair onto all of it without having to spread across to another A4, making the head smaller.
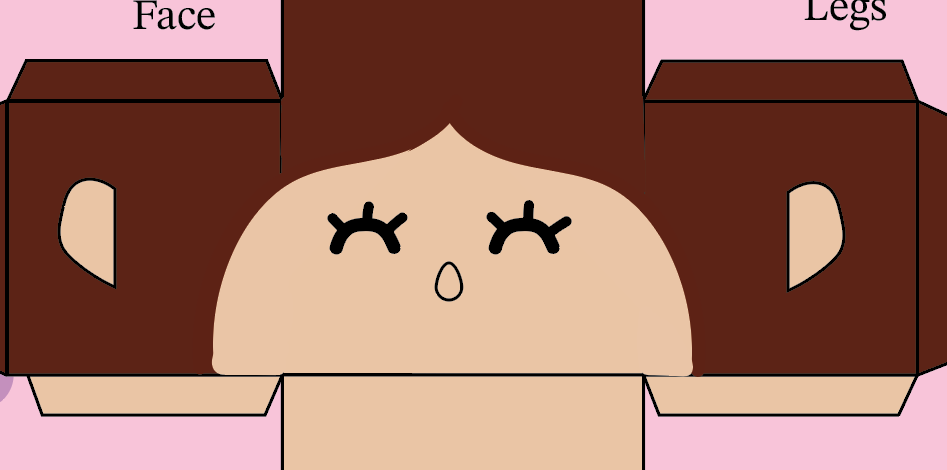

I decided to keep the right nose instead of the left, at first I did have one that could be cut out but it was far too small and intricate and not so convenient for a younger audience.

My first attempt once I had added the colour did not quite wok out as I forgot to add that back bit of the head so she ended up bald on the back, so I needed to add some hair and make sure it was long enough to cover. The rest of it turned out okay but instead of having the ears separate, I will have them already on the head.
When I did the hair, I didn’t do it long enough and so it didn’t go past the back of the head so I will have to make it longer.
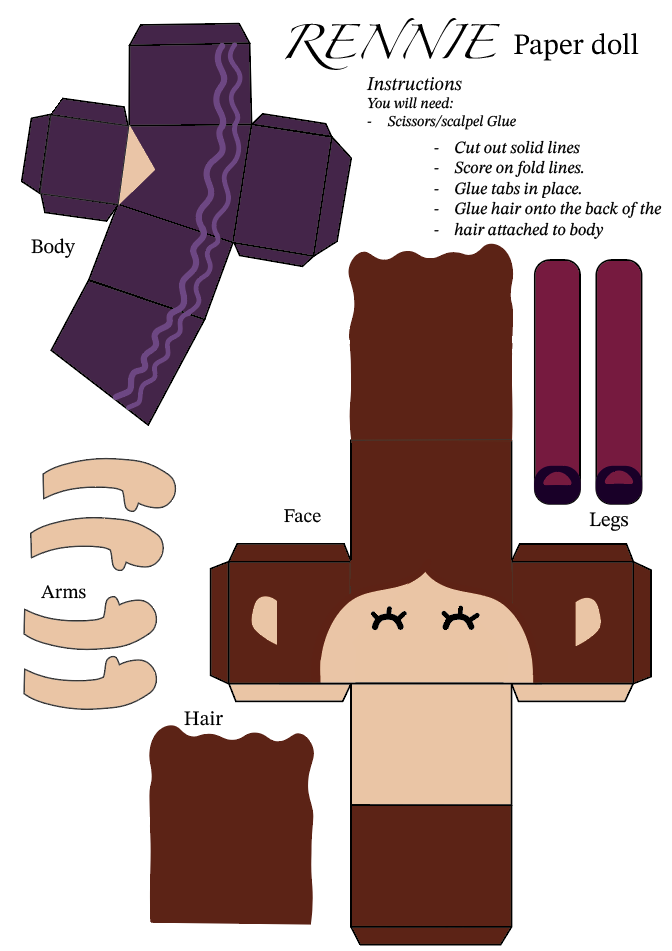
Final outcome net design
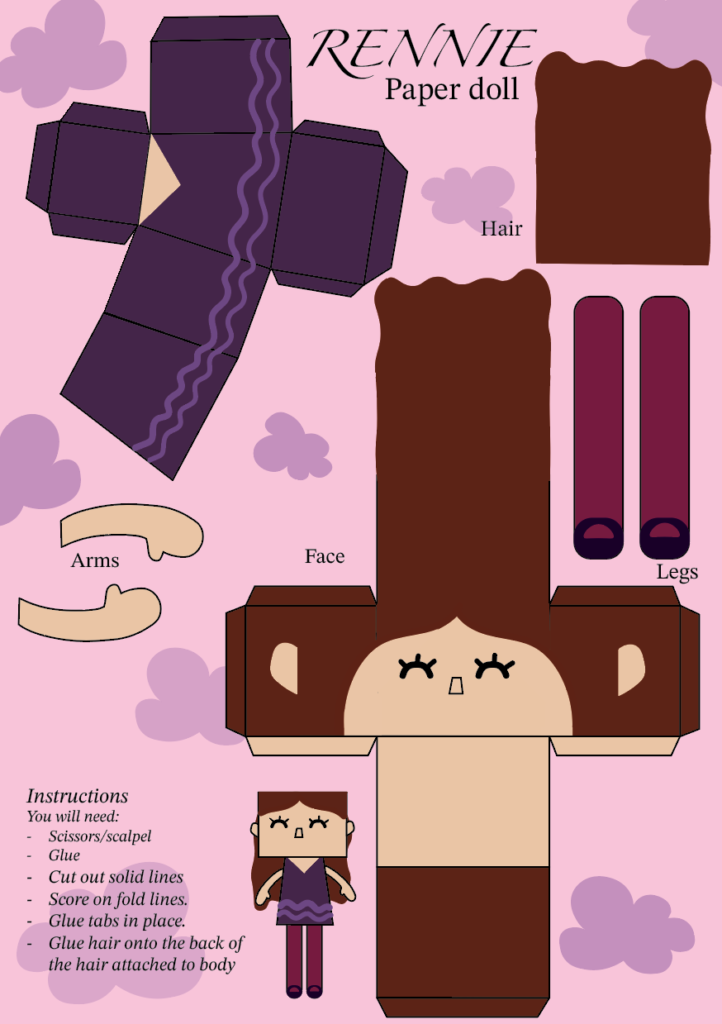
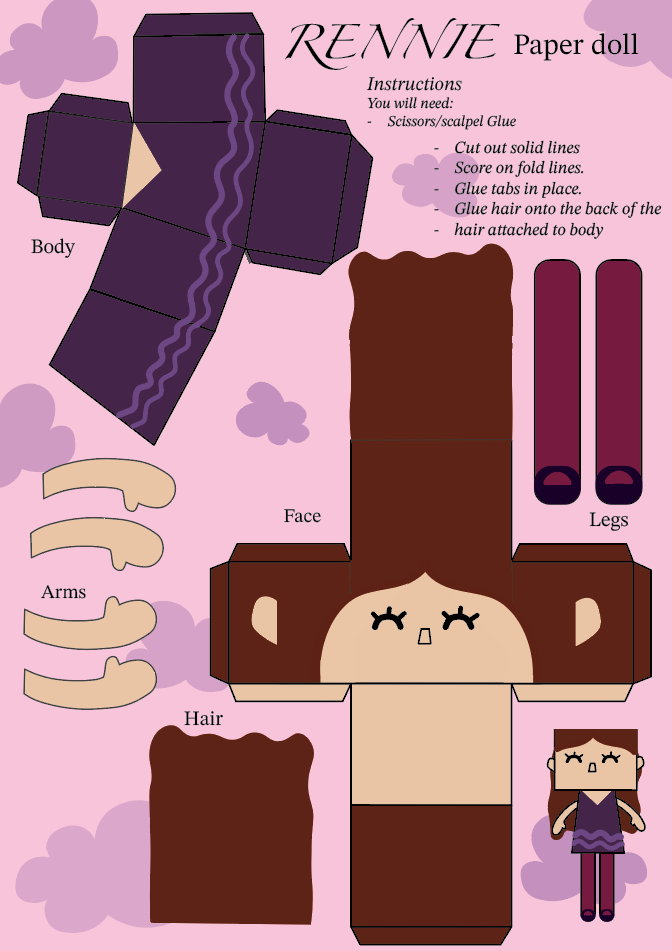
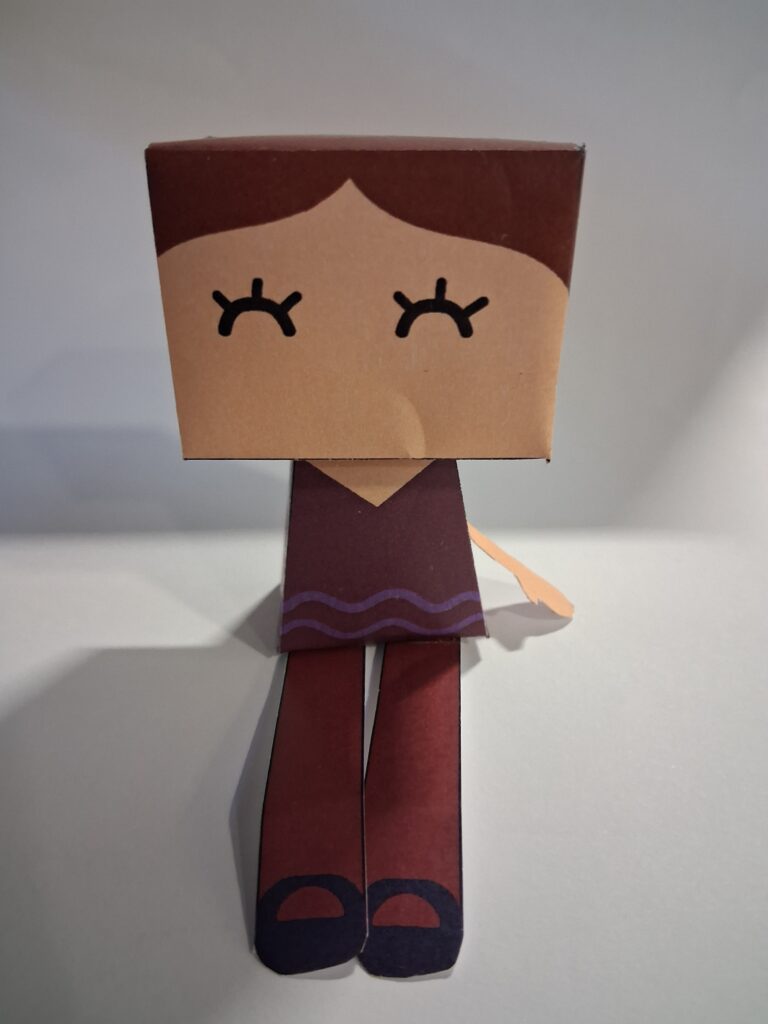
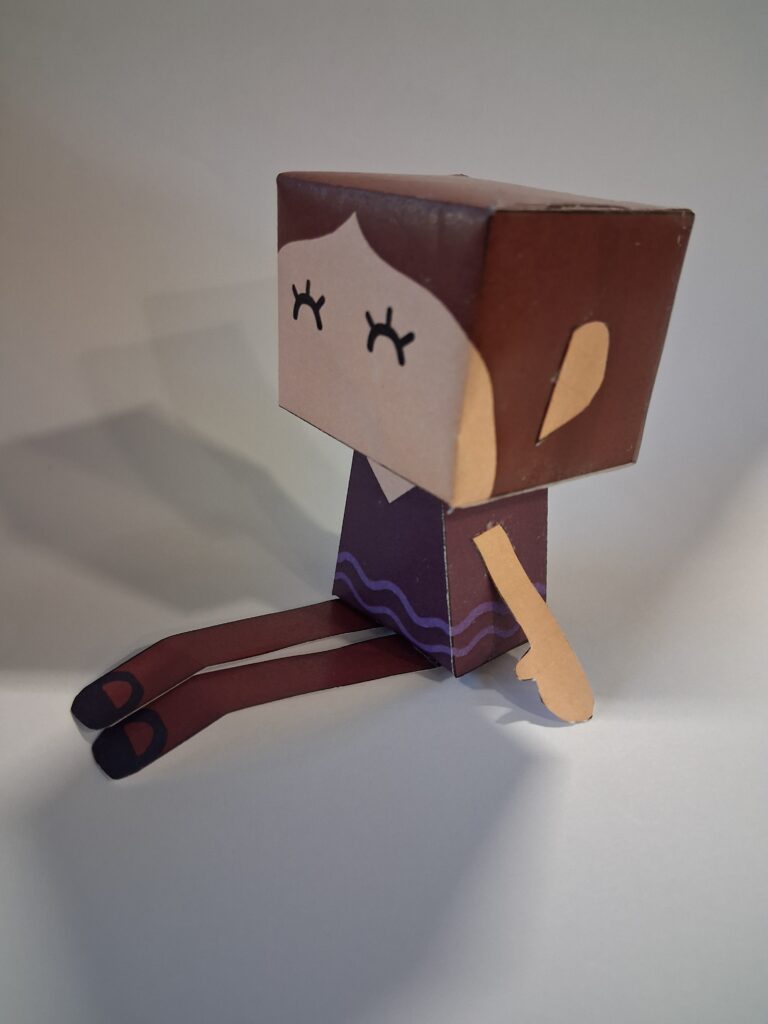
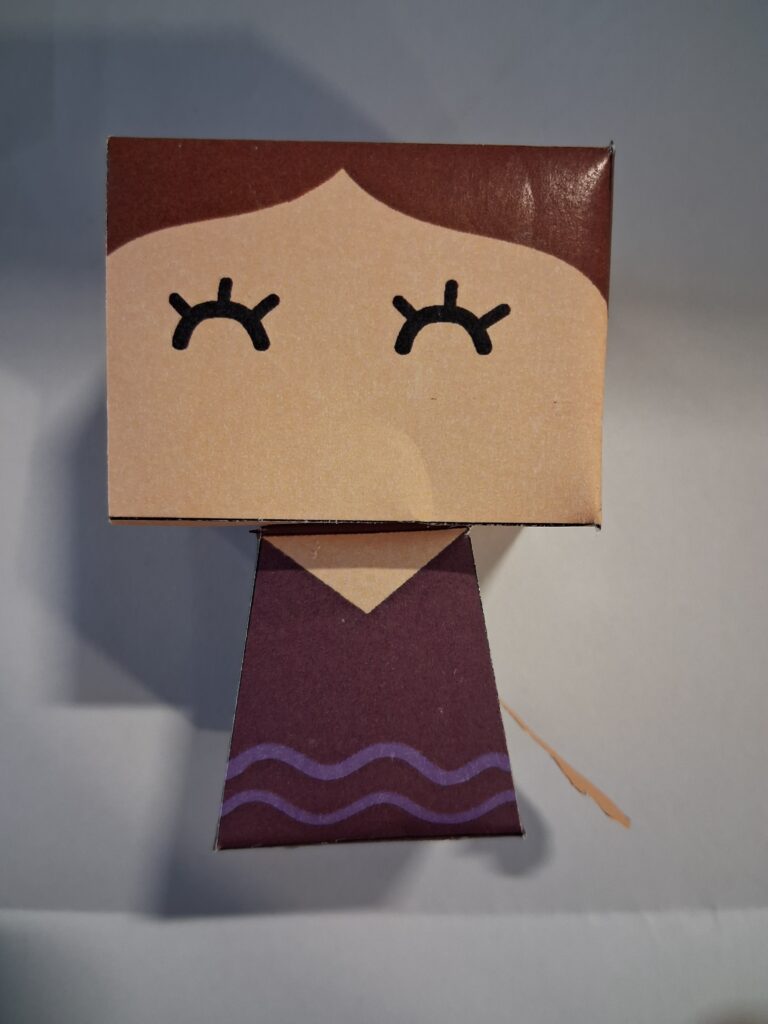
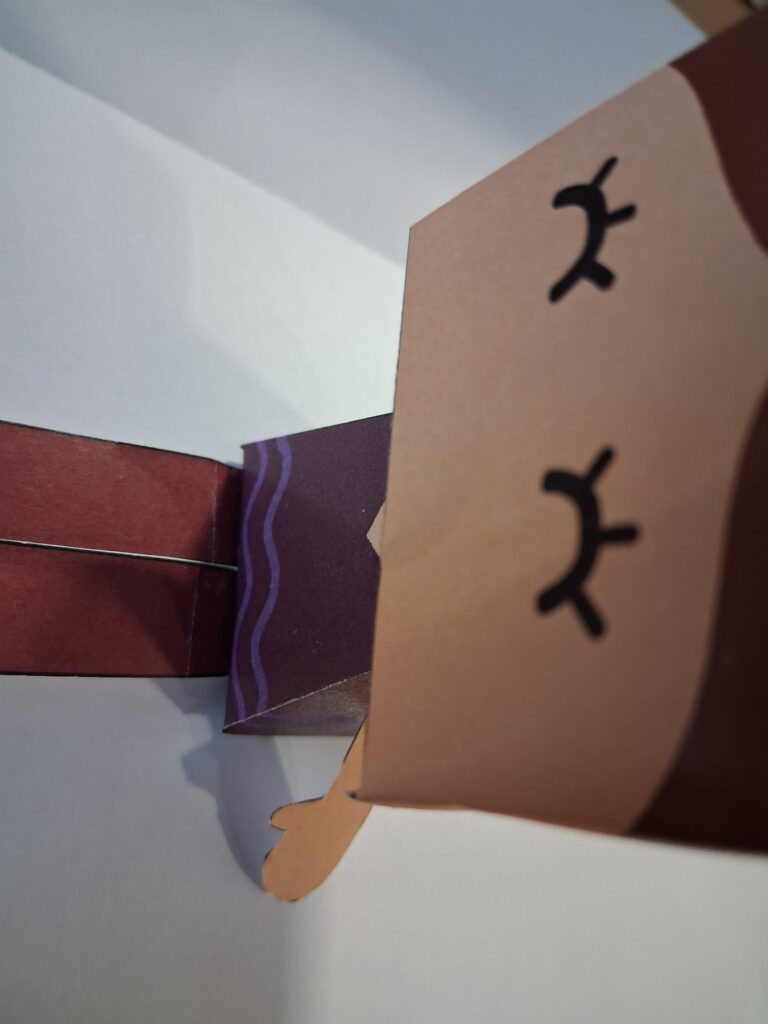
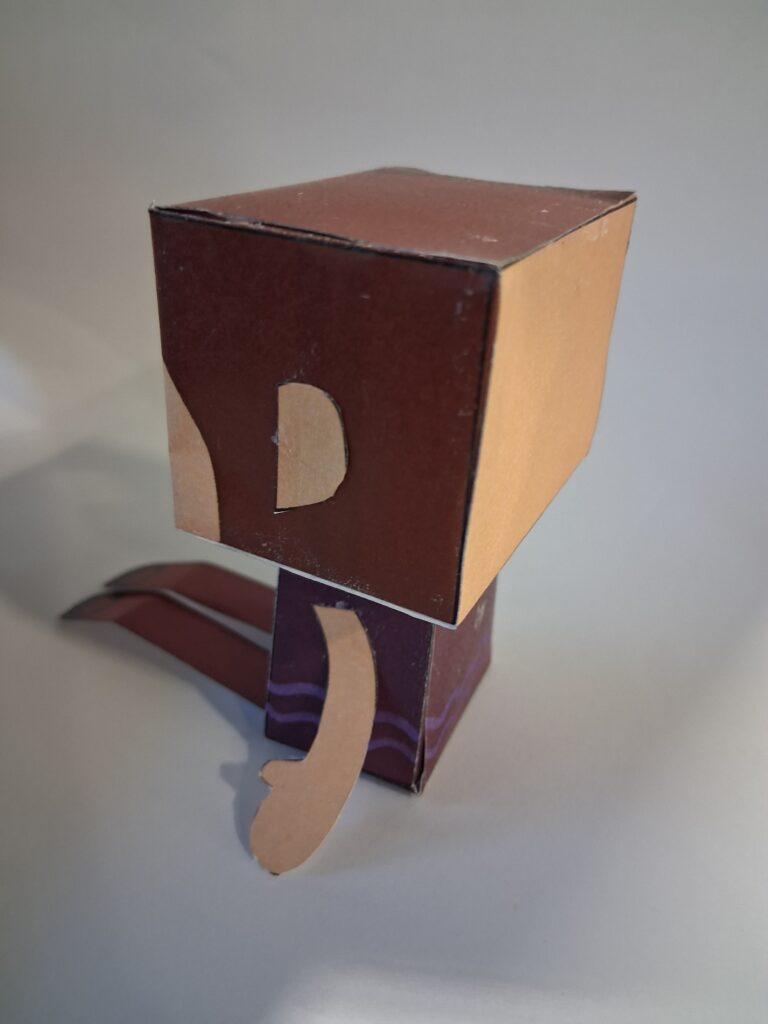
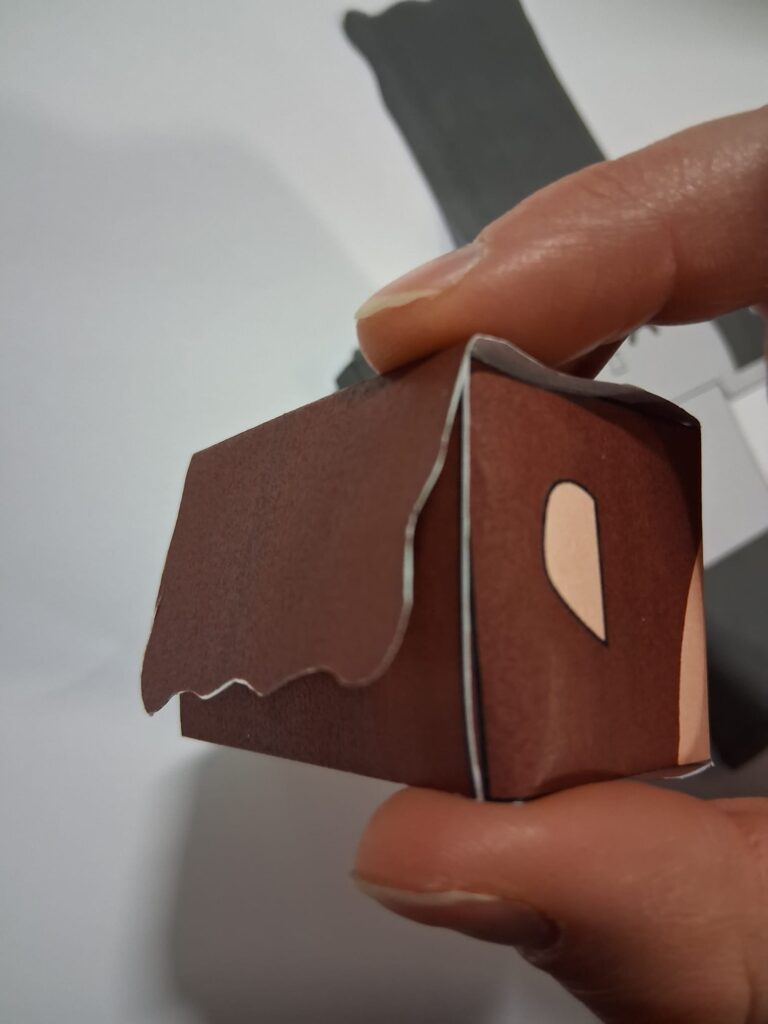
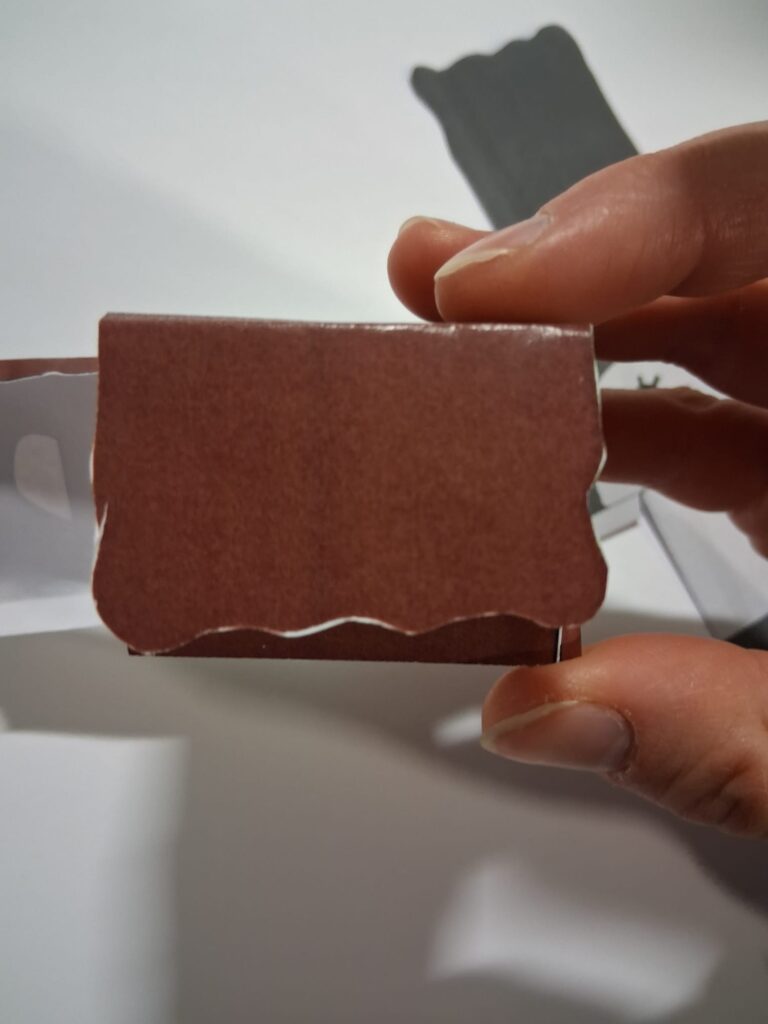
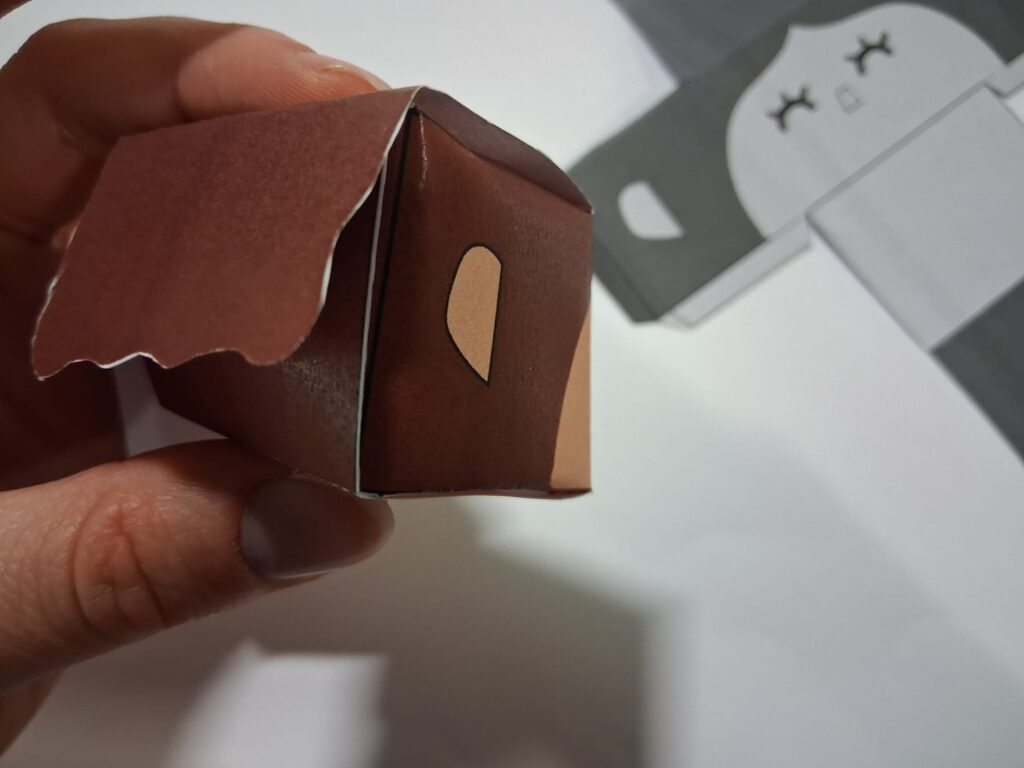
Images of doll
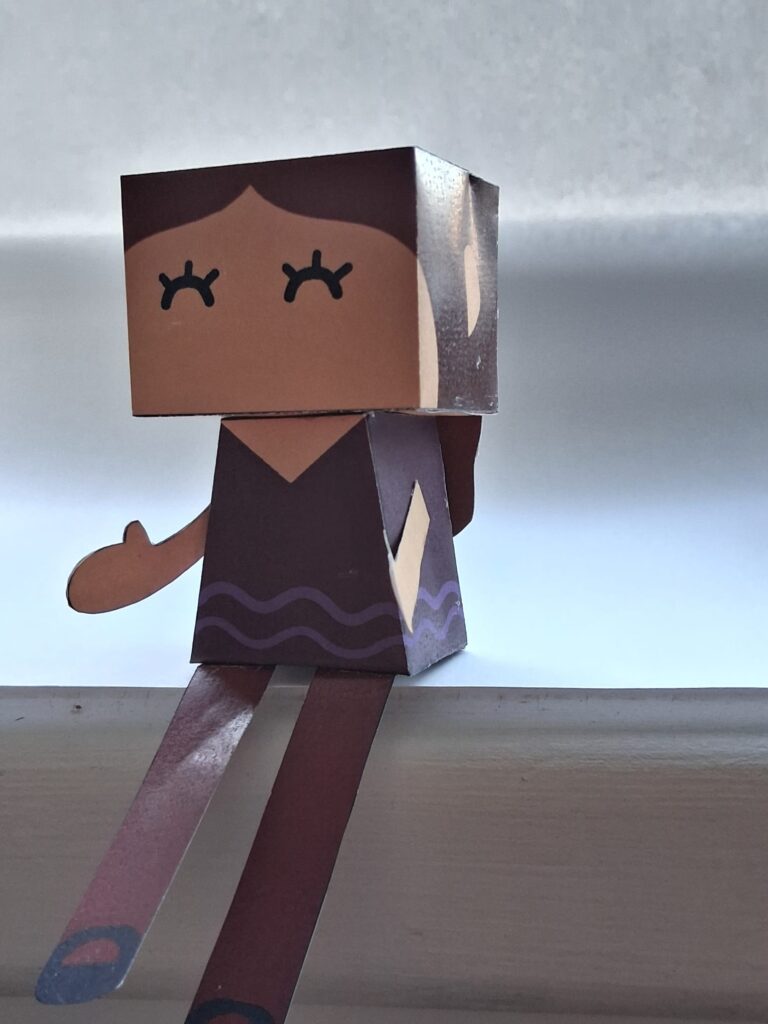
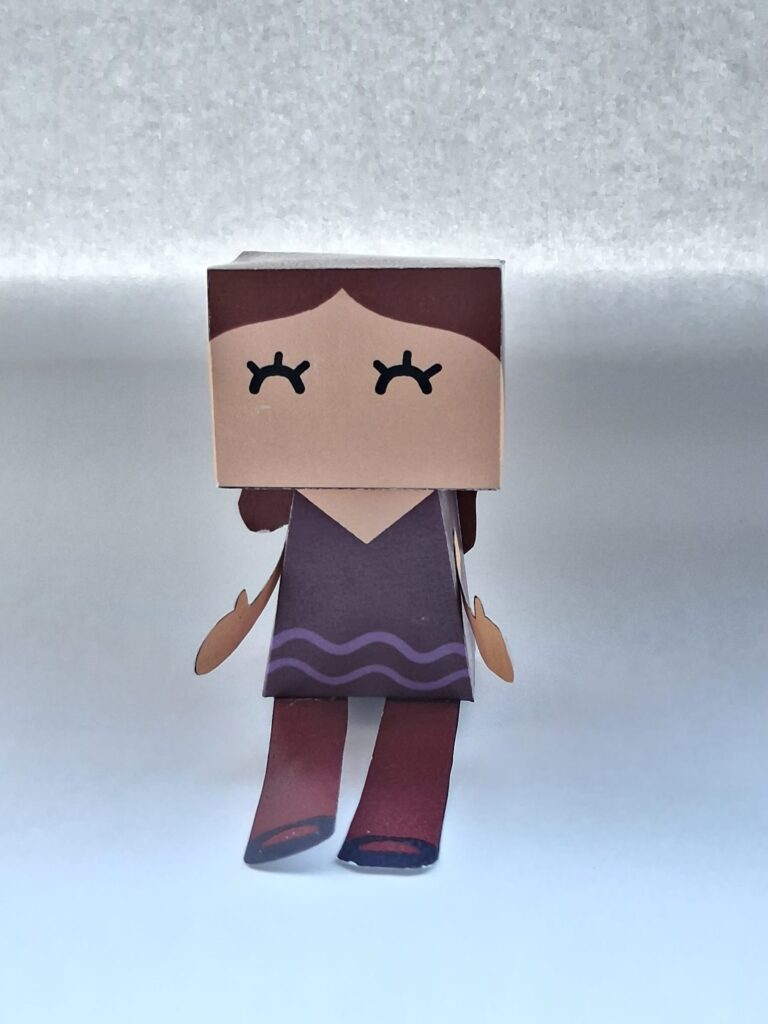
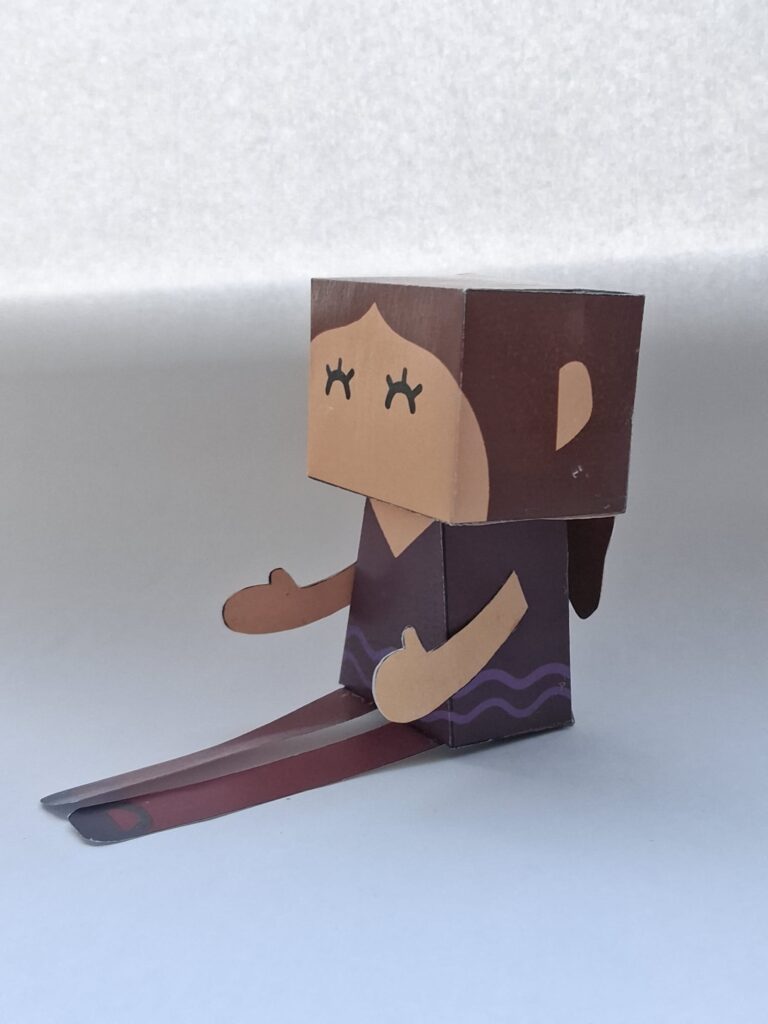
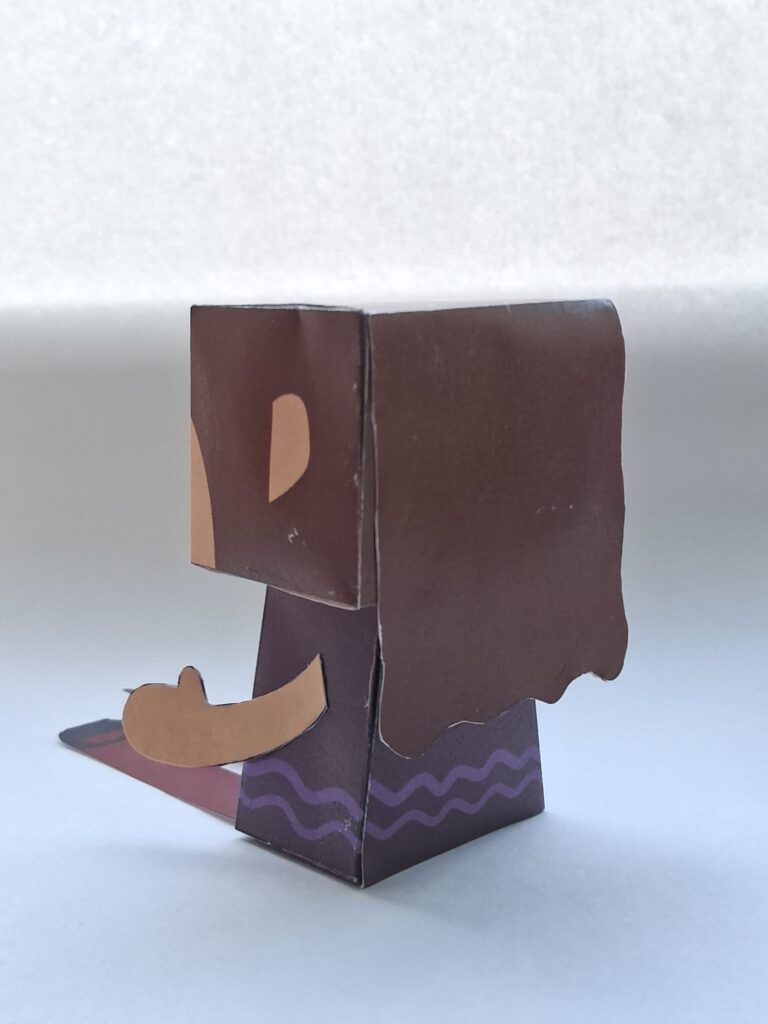
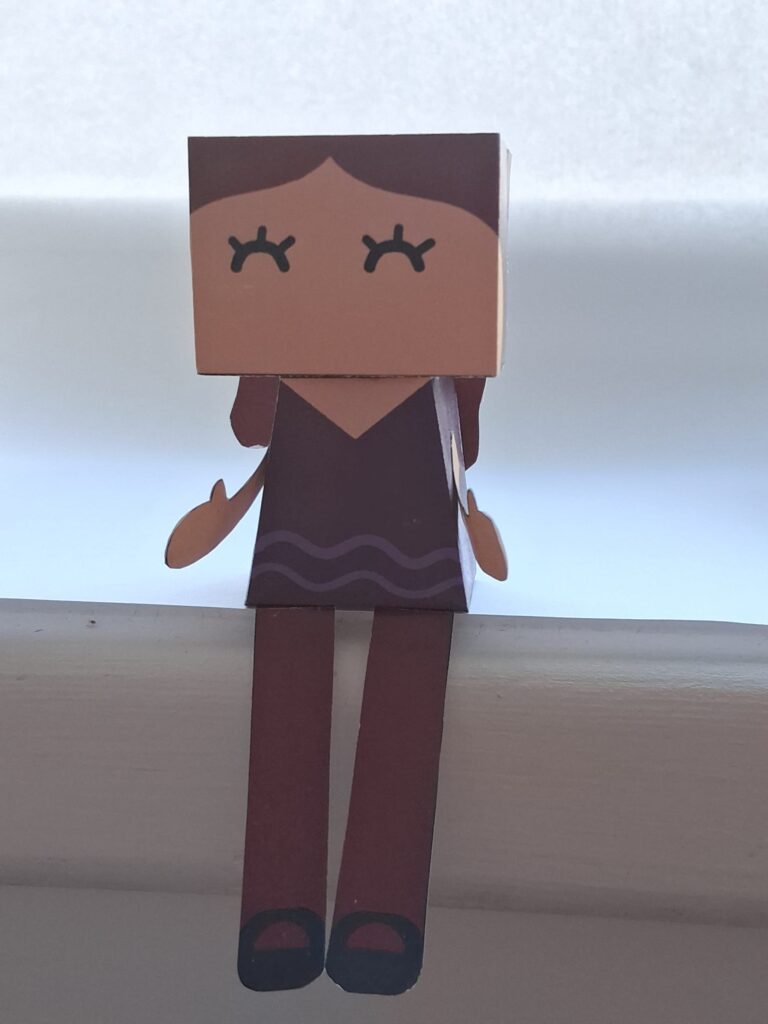
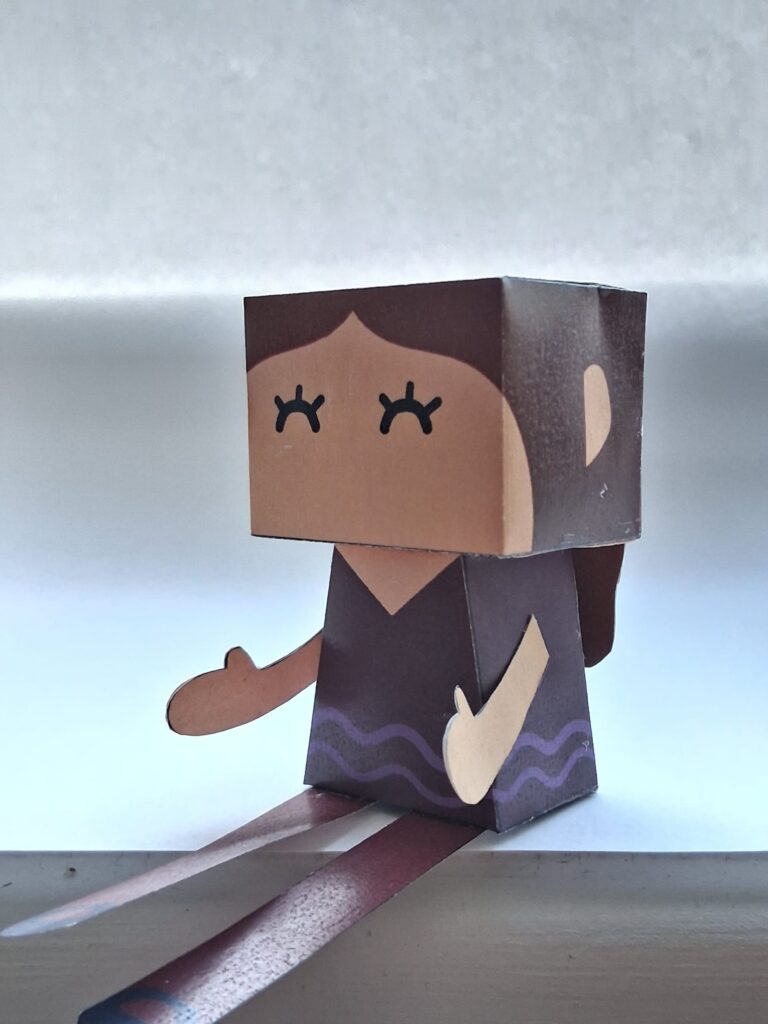
Paper doll done with the correct length hair as I needed it to have one block and a bit extra for it to work. I had to rearrange the different parts so that it would all fit onto the A4 and make it interesting.